Fabric bag
Description
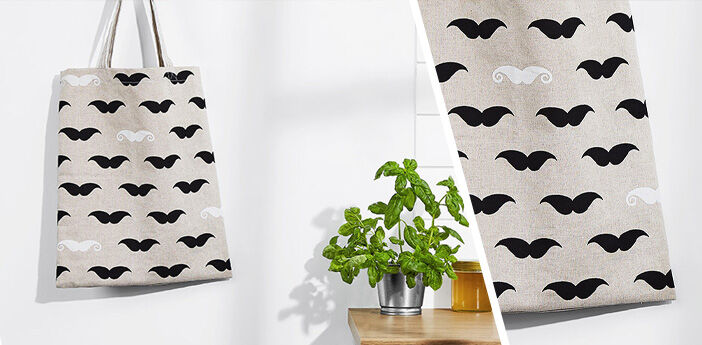
Somehow we always seem to buy more than we can carry! To avoid having to buy disposable bags, you can place fabric bags in all your handbags, in the car or near your front door, so that you always have one handy. We'll show you how to sew a fabric bag in no time using just a small piece of fabric.
You'll Need:
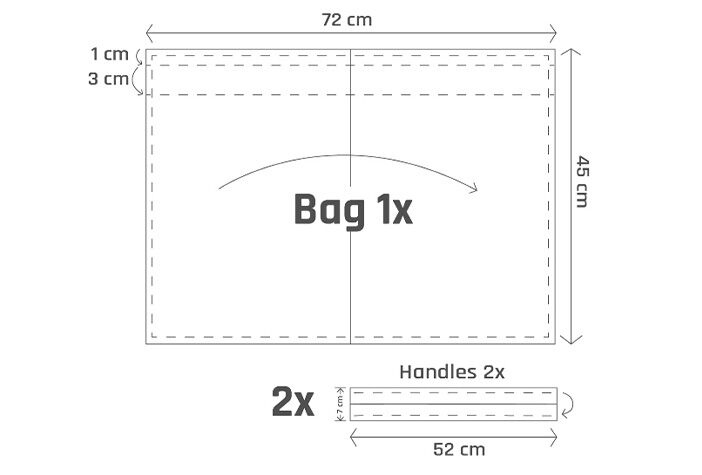
Cut-out
Cut your fabrics as follows:
- Bag: 72x45 cm (incl. 1 cm seam allowance)
- Handle: 2x 7x52 cm (incl. 1 cm seam allowance)
Here's how:
- Fold the bag piece down the centre (right sides facing) so that the short edges of the rectangle meet. Using a straight stitch, sew together the sides and the lower edges (1 cm-seam allowance). Neaten off the edges with a zig-zag or overlock stitch to prevent them from fraying later on.
- For a neat finish, turn under the open edge of the bag by 1 cm (wrong sides facing) and press. Now measure 3 cm from your new edge and turn under again; in this way, you will obtain a neat, double-fold hem that will also give the bag a nice finish. Always press your hems, as they will be easier to top-stitch later.
- The two remaining strips will be your handles. Fold one of the strips lengthways (right sides facing) so that the long edges meet. Then stitch the long edges together with a straight stitch (1 cm-seam allowance). You now need to turn the strip right side out (you can use a large safety pin for this purpose). Once you have done this, press it carefully, ensuring the seam lies along one of the edges, and top-stitch close to this edge along the handle. Repeat the process for the other handle.
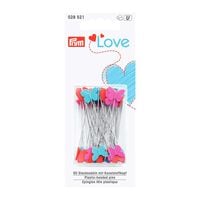
- The next step involves attaching the handles to the bag. We have allowed a distance of 8 cm from each side of the bag. It is best to mark the position with pins before attaching your handles. Now push the end of the handles (in the marked positions) inside the turned-up edge of your bag and stitch in place; the handle should point downwards. Now stitch around the turned-up top edge of the bag, close to the folded edge (in this way, you will also fix the handles in place).
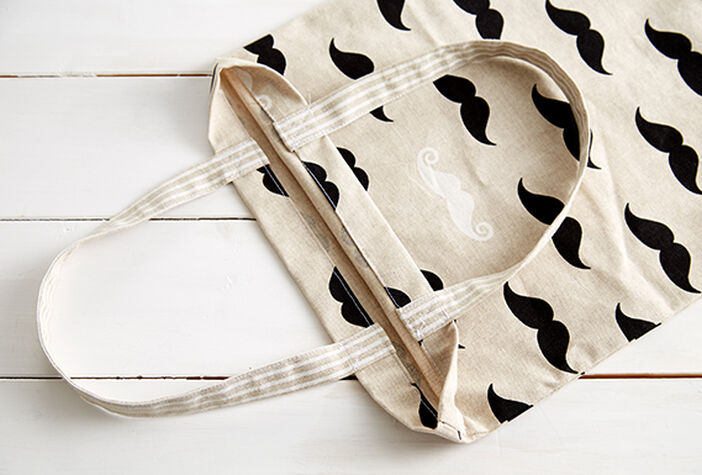
Sew on the handle
It is now finally time to turn your bag right side out. Lay out your bag before you with the handles now facing upwards, and using pins, fix them once again to the upper edge of your bag. Stitch over the handles at the top edge (as shown in the image) to keep them firmly in place, and your personal shopper is ready!
Complete ! Have fun with your new bag!

