Octopus Plush Toy
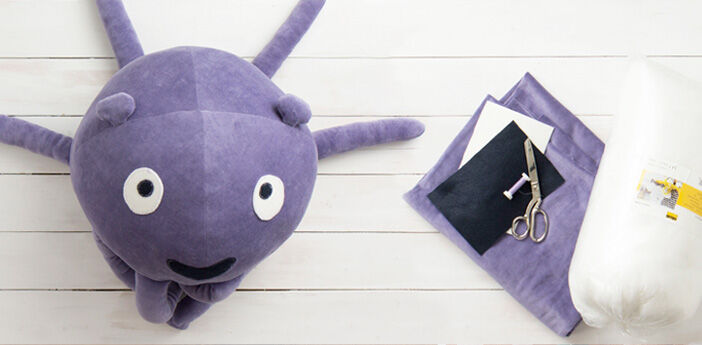
Description
This plush toy is not only an adorable adition to any kid's playroom it is also a cuddly and soft companion for a little nap. This version is only one option to create this cute octupus - why not choose a different colour or give it rainbow tentacles? It's completely up to you how the end result is going to look like. The instruction is perfect for beginners and you can simply download the pattern for free. So get your material together and make your very own little octupus plush toy now.
You'll Need:
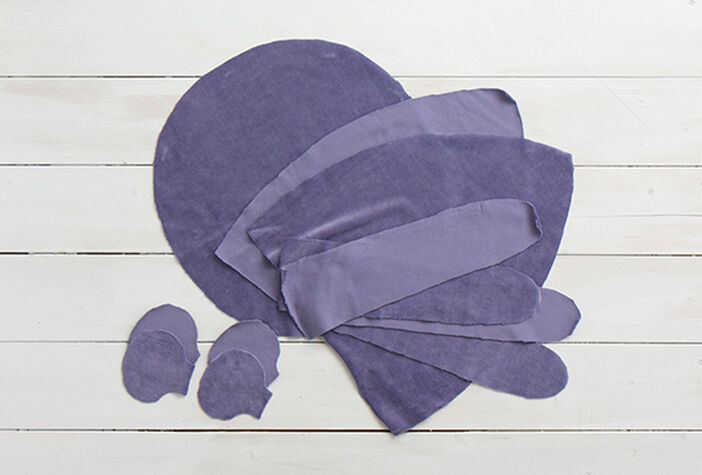
Cutting Out
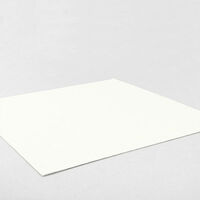
Note: each pattern piece (except eyes and mouth) have 1cm seam allowance included ·there are no hard and fast rules about which way to cut the fabric; typically, velveteen is cut with the nap going down, but if you prefer a richer, darker color, cut the garment with the nap going up - this is what we did:
- Bodyparts: 4x
- Base: 1x
- Tentacle: 16x
- Ear: 4x
- Eye: 2x
- Pupils: 2x
- Mouth: 1x
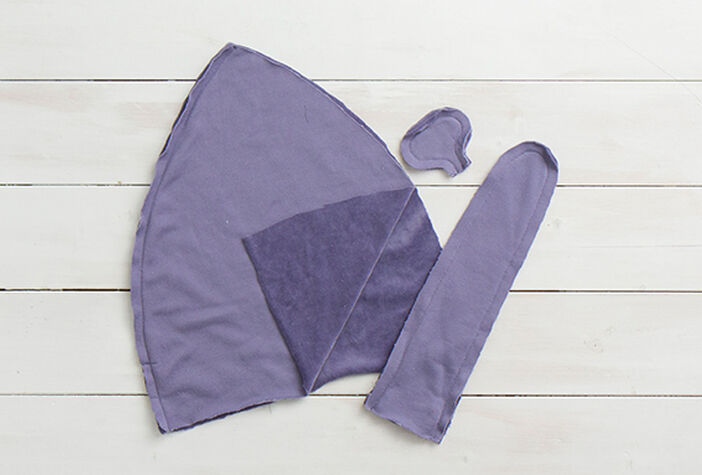
Tentacles and Body
Tentacles: each leg consists of 2 leg pieces; stitch together along the edge with 1cm seam allowance (right sights facing) and leave the short straight edge open - you should have 8 legs at the end.
Body: for now we only take 2 pieces of the body parts, put them together (right sights facing) and close one side by sitching together with 1cm seam allowance (as seen in the picture); repeat with the other two parts - you should have 2 body-halves at the end.
Ears
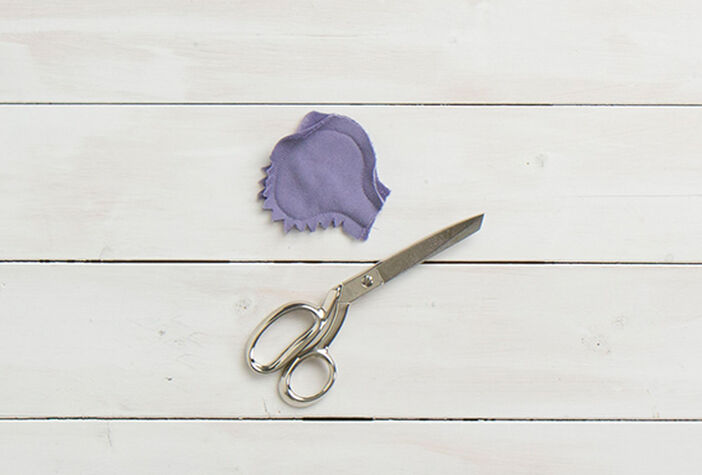
Leave the short straight edge open and stitch the ears together along the edge like the legs - you should have 2 ears at the end.
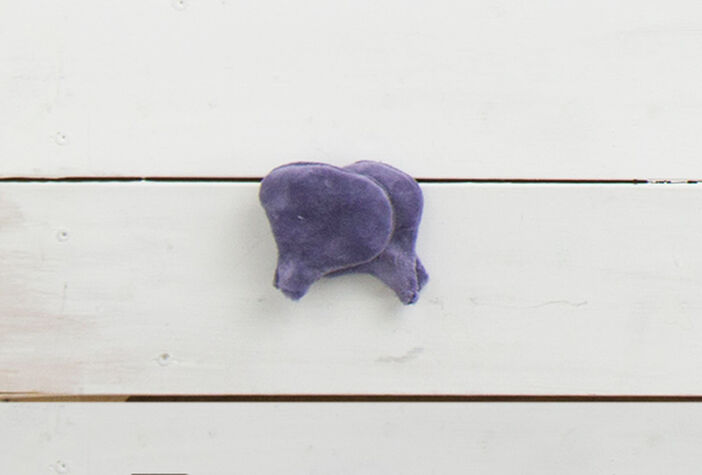
Turning the ears
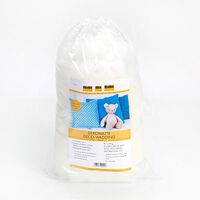
Cut little notches into the seam allowance of the ears - this way the round edge will look nice and smooth after you've turned it. Now use the blunt end of a pen or something similar to turn your ears inside-out. Take a little bit of wadding and use your pen to push the wadding into the ears - just so that they get a little more volume.
Attaching the ears
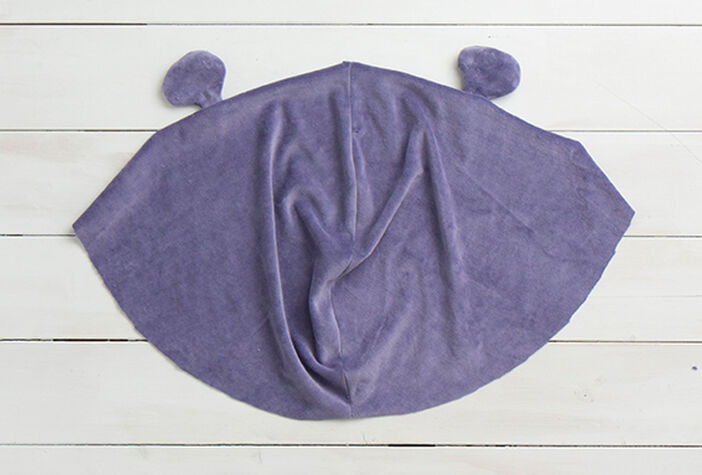
Open one of your body-halves and position it in front of you; now you can place the ears - it is up to you if they are higher up or lower down (as seen in the picture); after you have decided on the right spot, flip the ears so that the open edges line up with the open edge of the body-half; secure with pins and stitch on.
The Face
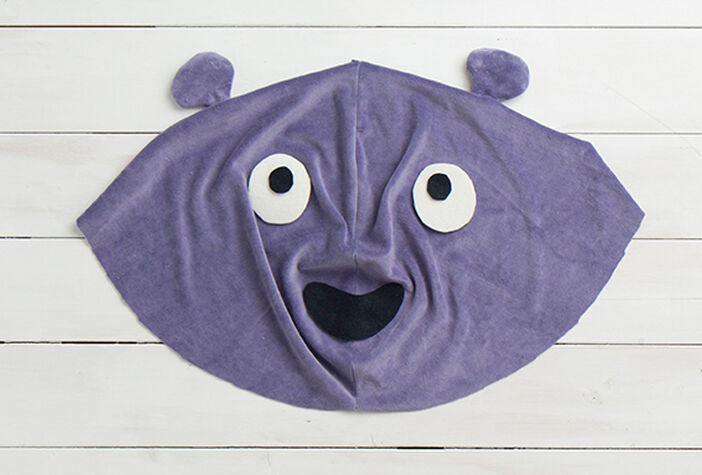
Place the Eyes and the mouth (as shown in the picture) and decide on the expression of your little octupus - you'll be surprised on how much the face can change if you place for example the eyes wider apart or change the position of the pupils.
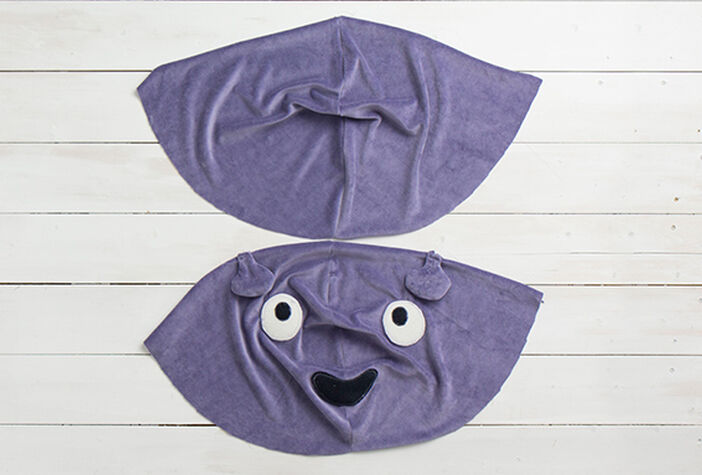
Attaching the Face
When you're happy with your face, pin the felt pieces down and use a zig-zag stitch around the edges to fix them.
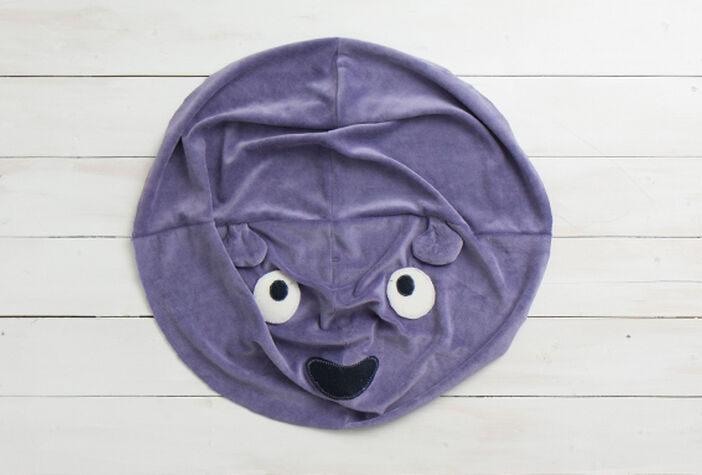
Body
Now it is time to connect our two body-halves; put them together (right sides facing) and make sure that the two middle seams meet (as seen in the picture) - secure with pins. Stitch together along the edge, using 1cm seam allowance and take a first look at your little friend.
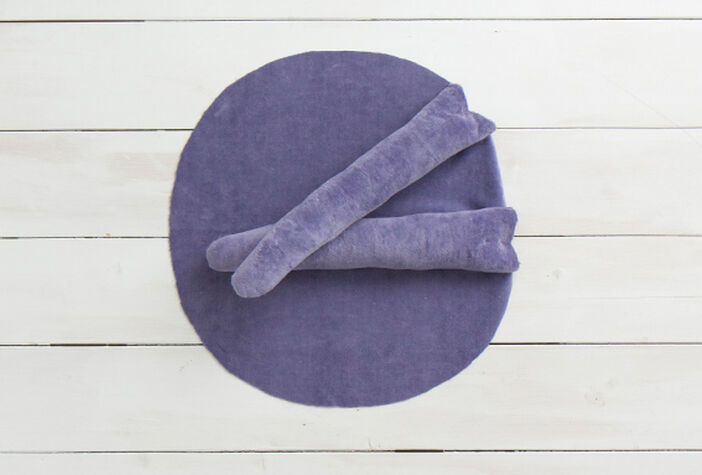
Turning and stuffing the legs
Take your 8 Legs, turn them inside out and fill with them with wadding; afterwards close the open edge with a straight stitch - it will make it easier for you to attach the legs to the base.
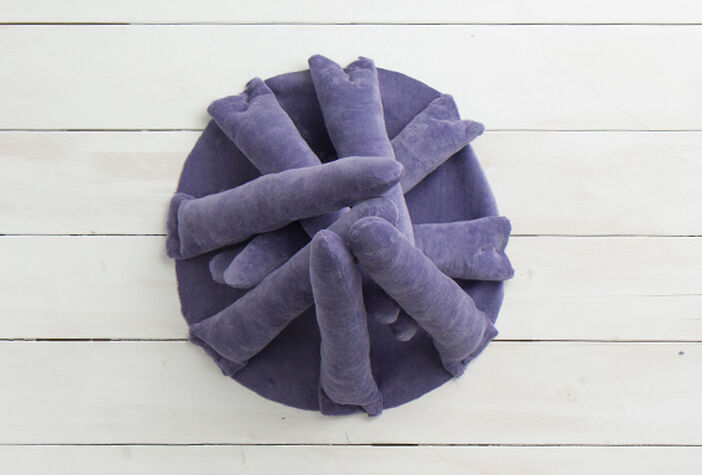
Attaching the legs
Take your base (right side up) and start attaching the legs one by one with a straight stitch; at the end it is going to look a little bit like a colourful campfire
Note: pin the legs first in order to see if you're happy with the sectioning.
Putting it all together
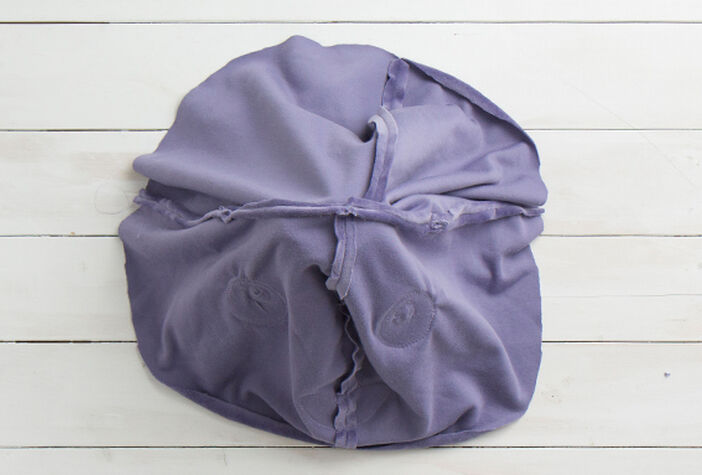
It's time to make our little octupus whole! In order to do so, take your finished body-part and place it loosely on top of the base (right side towards the base as seen in the picture); make sure the fabric is spread evenly. Note: we will have to stretch the base while we sew it onto the top so don't worry that you'll have more top fabric - just make sure that it is spread evenly. If you're happy with the arrangement of your fabric, secure with pins and start stitching along the edges with 1cm seam allowance; leave a handwide gap for turning. Note: having to handle this bulky figure can be a bit tricky so take your time.
Turning the octopus
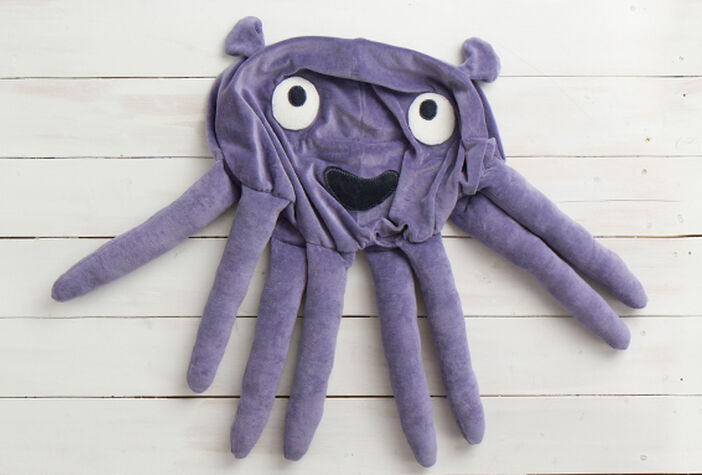
Use the handwide opening to turn your plush toy inside out; the easiest way to do it is by pulling the tentacles out (one by one) first. Take the rest of your wadding and fill you octupus to your hearts content.
Closing the opening
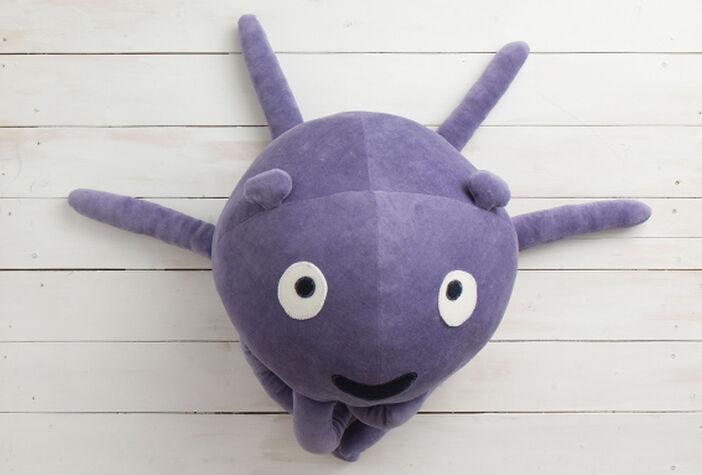
Close the opening with a couple of handstitches and try to resist cuddling with your new friend for the rest of the day.

