Sew a bottle case
Description
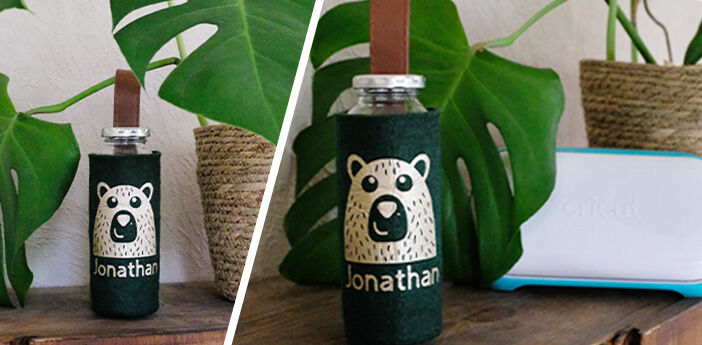
Sewing a bottle case is fast and easy! With this bottle case, your drinking bottle is optimally protected in school bags, work bags or during travel. With a creative plotter motif made of heat shrink film, the bottle case can be individualized in a few steps and customized for every taste.
You'll Need:
Measuring the drinking bottle
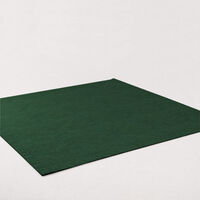
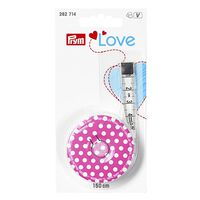
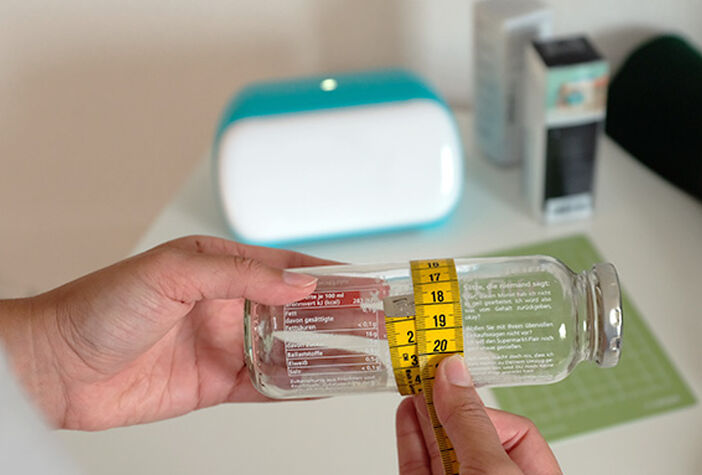
Choose a bottle you would like to sew a felt bottle case from and measure it precisely. We need the height and the circumference of the bottle.
Cut the felt
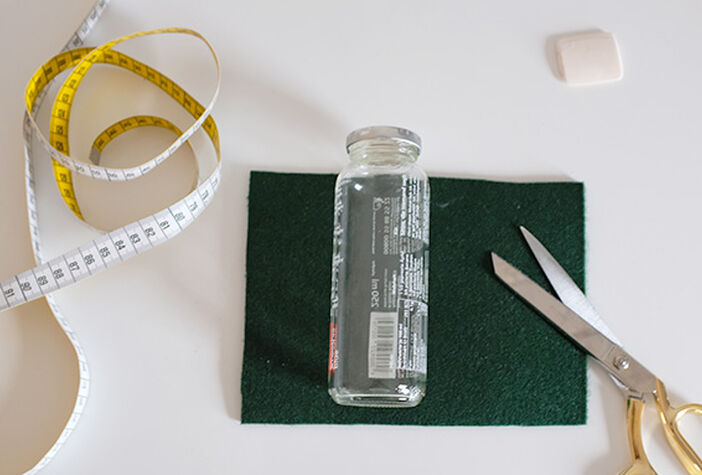
For each length you have measured, add 2 cm for the seam allowances. Draw these dimensions on the felt and then cut the cut section.
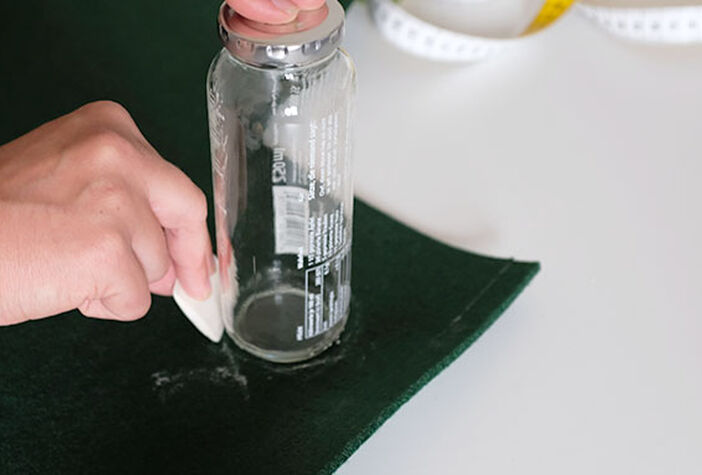
Cut the felt
Take a pen or tailor chalk for help and draw around the bottom of the bottle. Calculate a seam addition of 1 cm here too, and cut the base out of the felt.
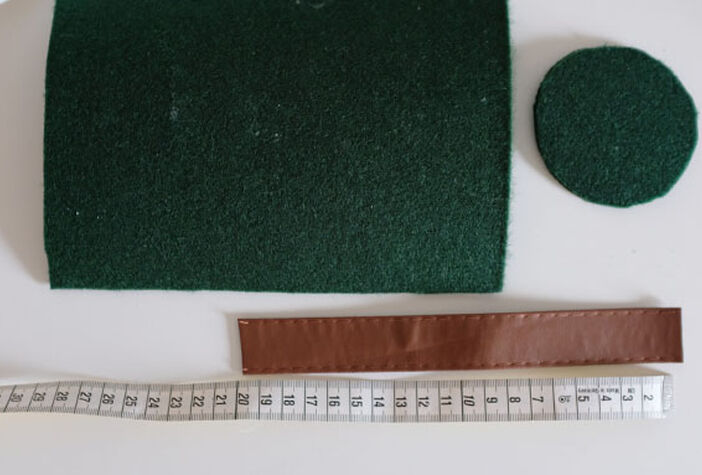
Cut the carrying strap
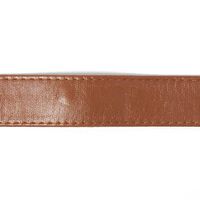
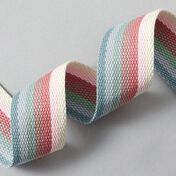
So that you can transport the case afterwards too, a small loop from the belt band is added. Cut the strap to the desired length – our carrying strap has a length of 20 cm.
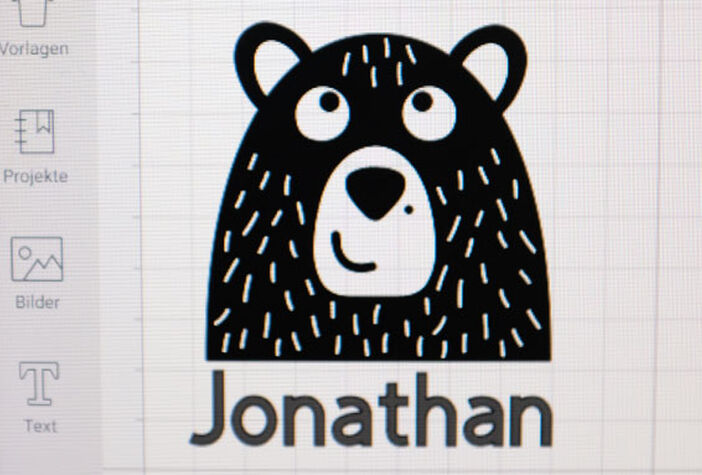
Select motif
Now it gets creative! In the Cricut Design Space you can find millions of pictures, motifs or ideas for customizing your drinking bottle with the Cricut Joy, so you can create a uniquely personal item. We chose a bear motif and the name of the child so everyone knows who the magical drinking bottle belongs to.
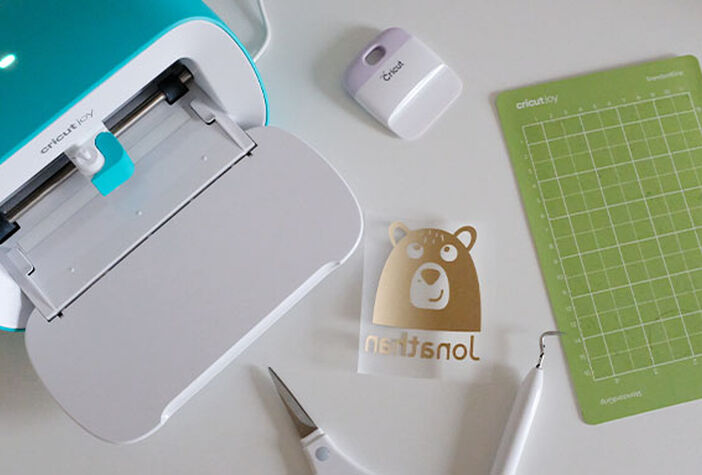
Plot the motif
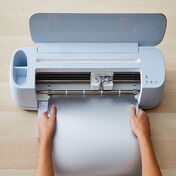
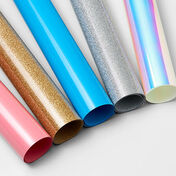
Now all you have to do is create the desired motif. For this you just need to follow the instructions of the Cricut Design Space and insert the ironing foil. Your motif will be created in no time at all. Remember to mirror the motifs when you work with iron-on film so that you can achieve the desired result afterwards and the names are not ironed on in a mirror image. Using tweezers or the pricking needle you can remove the fine foil residues in your motif before ironing.
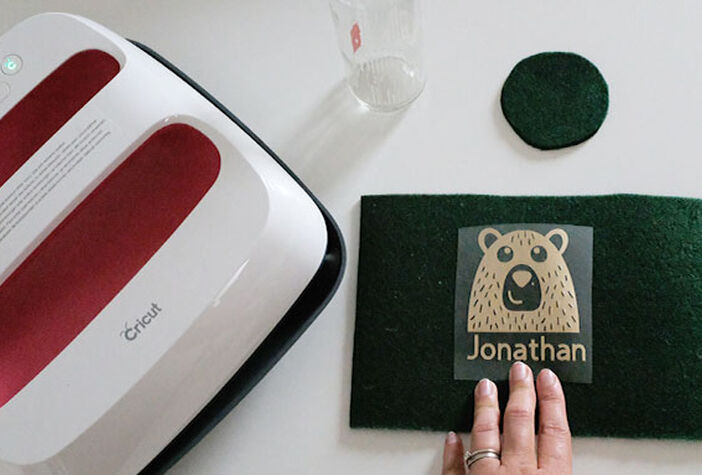
Iron on the motif
Now it gets hot! Using the Cricut Press, you can now place your motif on the felt and press it on. This will make your result last longer and stand up to wear.

Sew the bottle case
Now we move to the sewing machine. Put the two short sides on each other and sew them together lengthwise with a 1 cm seam addition.
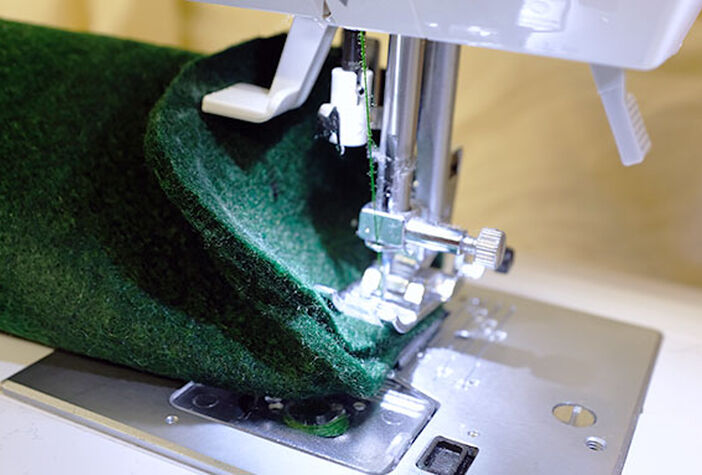
Sew the bottle case
Now, at the bottom of the bottle, things get a little trickier, but it's a small step that is done quickly. Here you now sew the round base with the 1 cm seam addition. The case is ready! Now you just sew on the loop with a small seam. For this you place the band doubled over and fasten it with a few stitches on the top edge.

