Sew a jumpsuit

Description
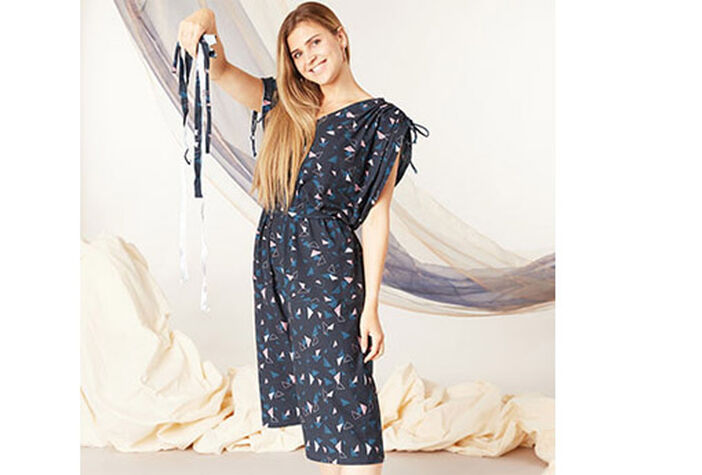
A zero-waste jumpsuit is stylish, sustainable and fun to make. Create a key garment that shouldn't be missing from your wardrobe. The zero-waste pattern is not only sustainable (because there is hardly any fabric waste) but also completely adjustable to your figur - so why not borrow it to your best friend at some point. This garment will surely bring you joy for a very long time.
Size: One size, about 8-14
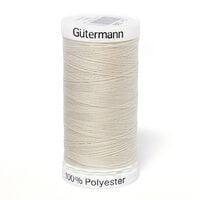
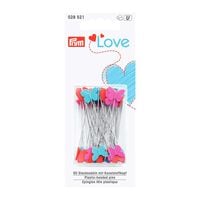
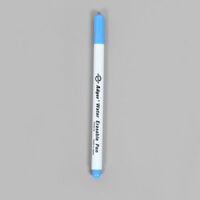
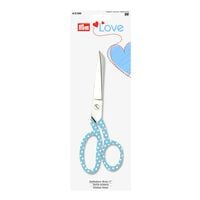
You'll Need:
Please use a fabric without a one way print as you'll have to cut partly across the grainline. We recommend not to wash the fabric beforehand as it is much easier to cut it without the sides rolling. The pattern should be loose enough to cover slight shrinkage after washing the final garment.
Step 1
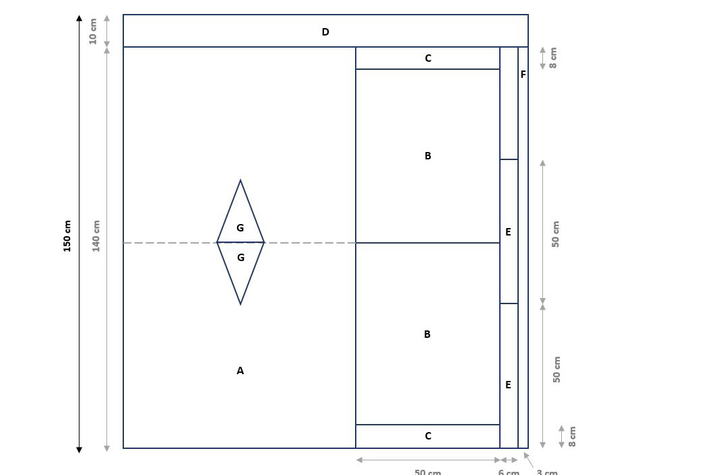
Straighten the cut edges and remove the selvedge. Don't worry if your fabric is slightly bigger or smaller as instructed - Piece A will accordingly change in size too. The other pieces should however be cut to plan. Seam allowances are included.
Step 2
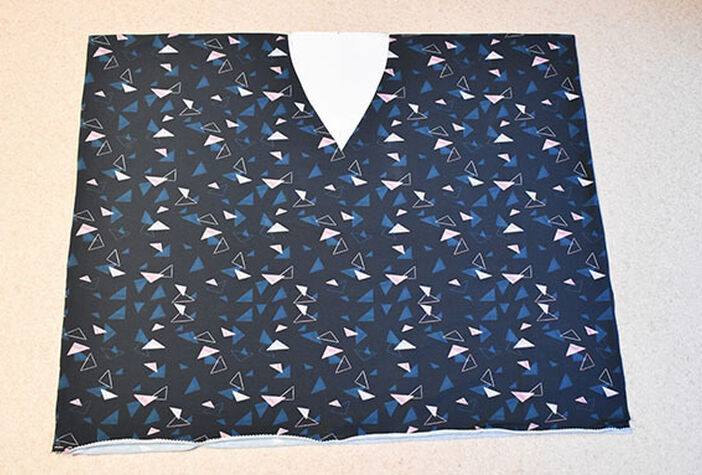
Fold Piece A in half (dotted line) and press the fold line. Place Piece G in the middle, trace it and cut exactly along the lines - the cutout piece will later become the crotch for the trousers.
Step 3
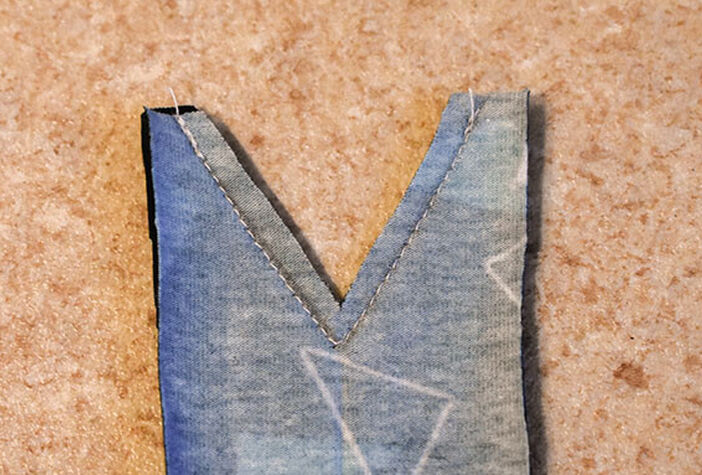
Neck: Take your E pieces, fold them in half (short sides facing) and mark/notch the middle - these notches will later match the shoulder notches of piece A. Open them again and fold them lenghtwise - press. Unfold the pieces again and place them onto each other (right sides facing). Now you have to sew a corner into your pieces - the peak is 4,5cm from the short edges on the middle and it should end 0,7cm from the edges of your piece (as seen in the picture). After you stitched your lines, trim the allowance along the corner to 0,3cm.

Step 4
Press the seam allowance open and fold it (wrong sides facing) close. Prepar piece A by cutting 0,5cm into the crease of the neck on the front and back.
Step 5
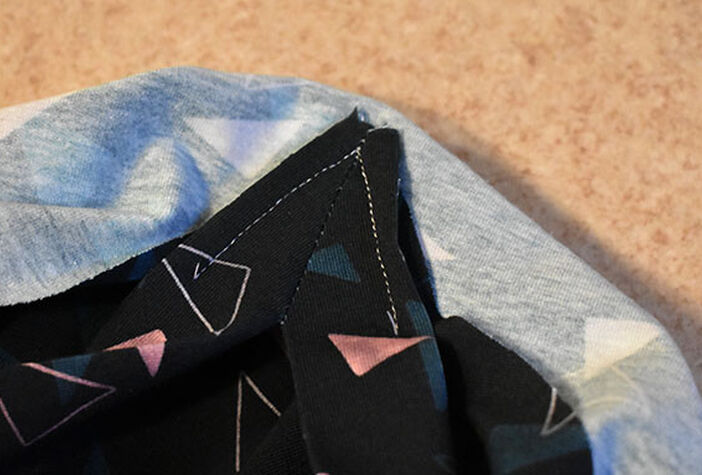
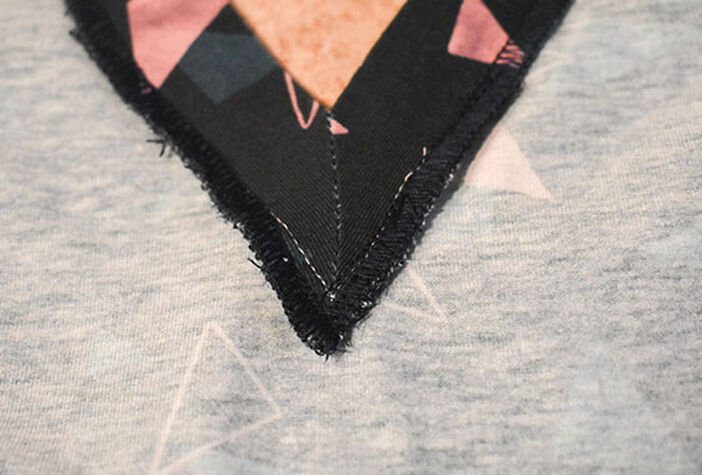
Stitch the corners of your neck-piece onto the front and back. Use a seam allowance of 0,6cm. Just start 2cm from the corner and once you reached the corner, leave your needle in the fabric, lift the foot and turn the fabric - this way you'll get a nice pointy corner.
Step 6
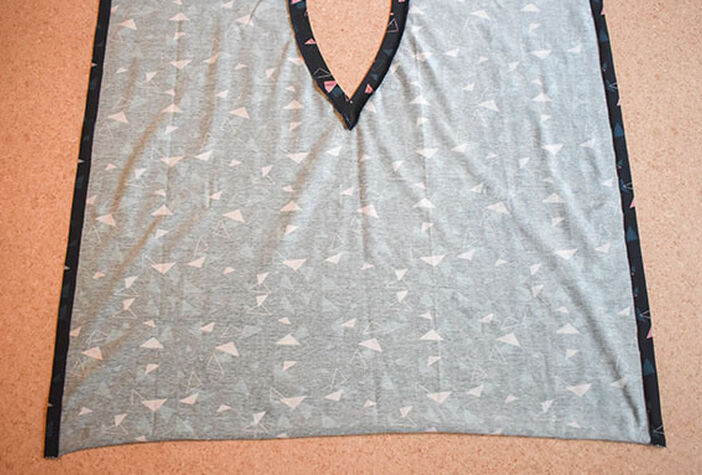
Now attach the whole neck strip by stitching it onto piece A from corner to corner. Use an Overlock machine or a stretch stitch. Press the seam allowances and corners nice an flat.
Step 7
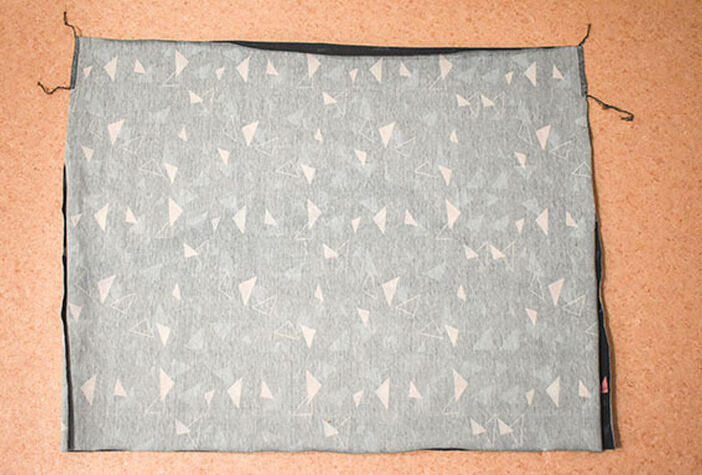
Trousers: Lay pieces B onto each other (right sides facing) mark 7cm on the short edges and stitch close (as seen in the picture).
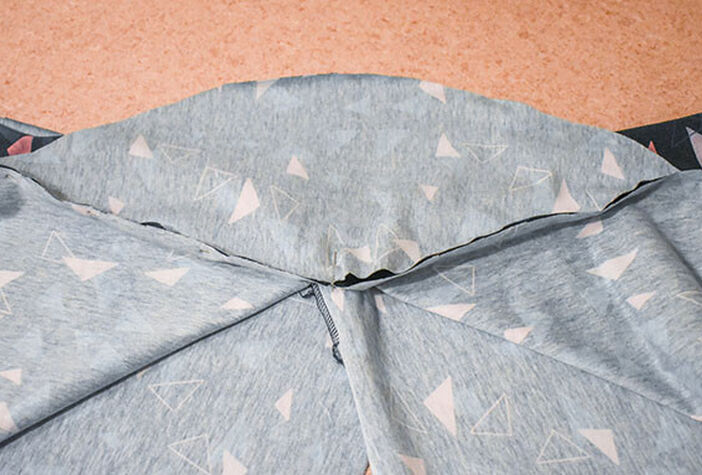
Turn it and lay the seems onto each other.
Step 8
Now take piece G (the piece you cut out from piece A), notch the middle on both sides and pin one side onto the seam of the upper fabric layer. Stitch with 0,7cm seam allowance.
Step 9
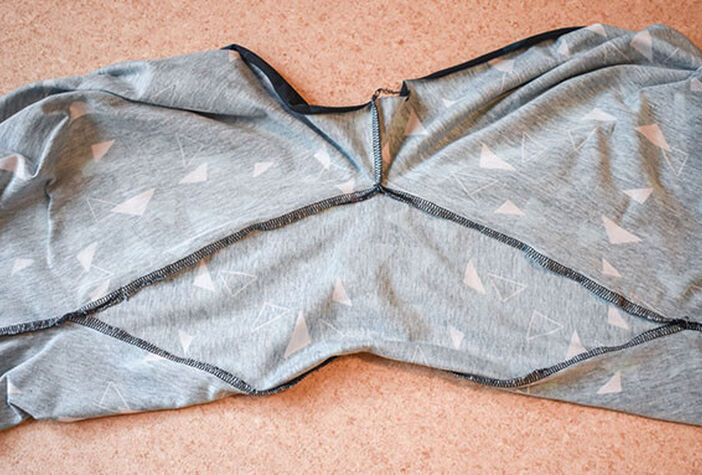
Repeat with the other side but this time close the whole open side, also closing the legseams.
Step 10
Shoulder drawstring: Take piece A and fold the outer corners 2cm inside. Press and fix with a cover stitch oder stretch stitch.
Step 11
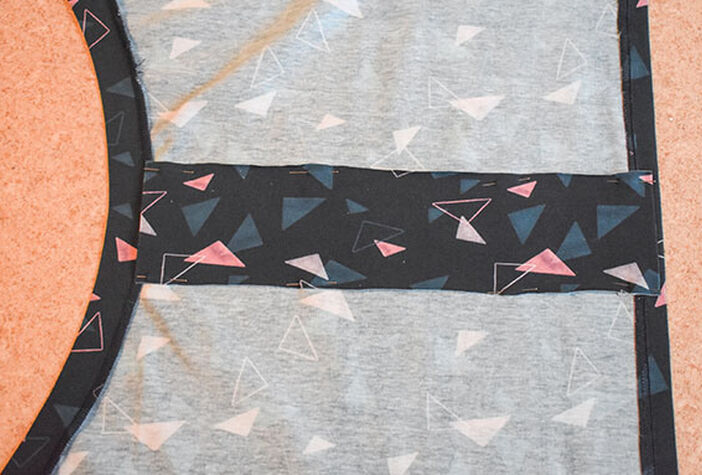
Take one of your C pieces and place it (as seen on the picture) onto the middle line of the shoulder - wrong sides facing. Fold the outer edges inside so that they dont overlap with neck and shoulderseams. Pin it on the long sides onto the top.
Step 12
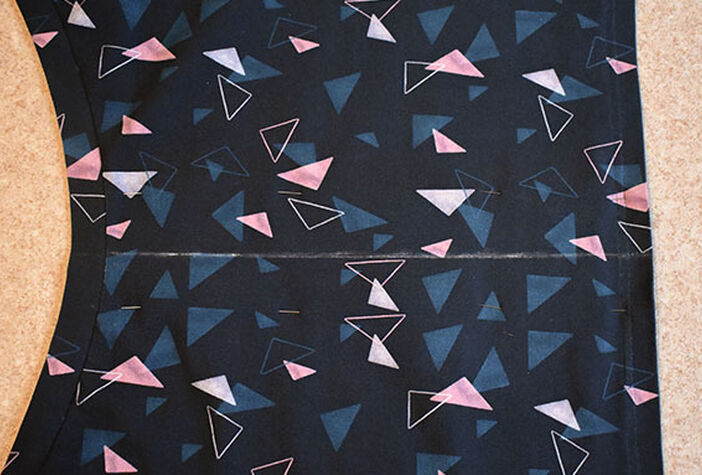
From the right side of the fabric, mark the middle of the shoulder with tailers chalk or a trickmarker.
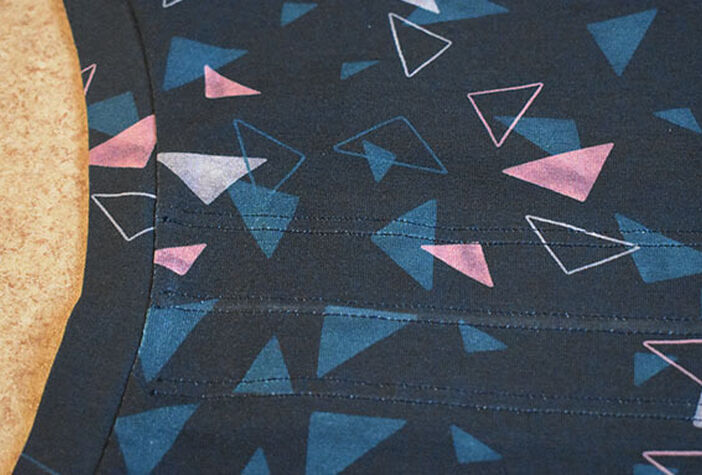
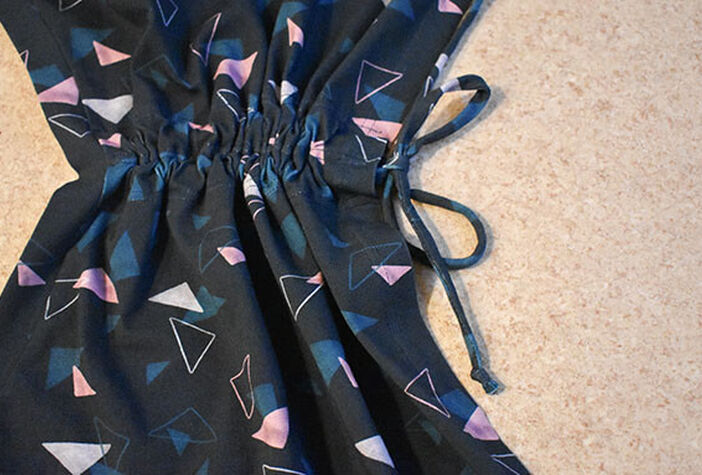
Stitch your marked line with a stretch- or coverstitch (just leave your pins inside, they won't be in the way). Afterwards remove the pins and stitch a line 3cm parallelly on the left and the right of the line you just stitched. You should end up with three stitched lines and two tubes. Repeat on the other shoulder.
Step 13
To make the strips for the drawstring take piece F, fold it (right sides facing) lengthwise in half and close the long side with 0,7cm seam allowance. Then turn it inside-out - you can use a thick thread and needle to do so.
Step 14
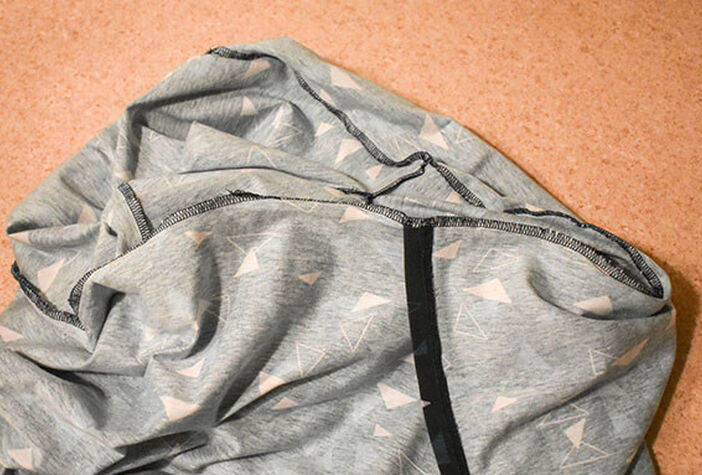
Now cut your strip in half, attach a safety pin and thread it through the drawstring towards the neck and back. Ruffle it to your liking and fix it by tying a bow. The ends of the strip can be finished with a handstitch, knots or stoppers.
Step 15
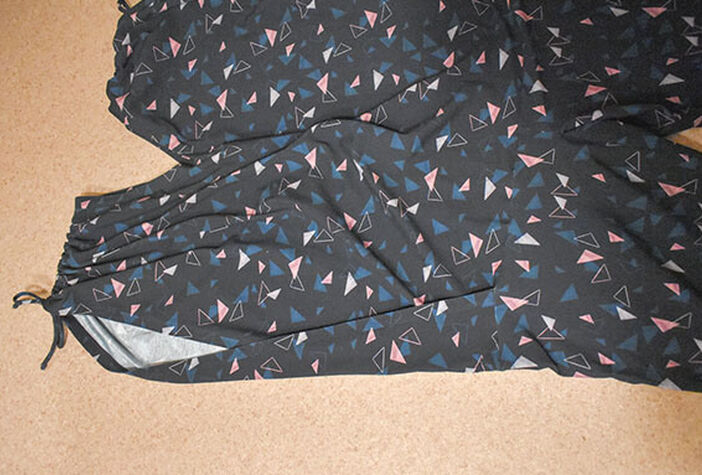
Put everything together: take your top-piece from the jumpsuit und mark the middle of front and back with notches. Also notch the side seams of the trousers which will be the mittle of front- and backseam on each side. Now place the upper and lower part of your jumpsuit flat on the floor in front of you and measure the width of each - the difference between the numbers will indicate the overlap of front- and backpart from your top-piece. From side to middle on the top-piece, notch the distance you just calculated. Now you can turn your top insideout and place the trousers inside (right sides facing) in order to join the parts together. Align the notches in the front and back of the top with the front and back seams of the trousers. Also align the side notches of the trousers with the now-overlapping top sides (all three notches should align) - your jumpsuit is symmetrical so you can wear it from either side later on, you should however make sure that only the front or only the back is overlapping.
Step 16
Apart from the overlap and the belt later there is no further seam to the sides of the top. If this is too "open" and you want to fix the overlapping pieces with a stitch, feel free.
Hem the trousers: On each trouser leg fold the edge 2cm under and use a stretch stitch or coverstitch to fix it. You could also make a rolled hem by folding it twice 1cm each.
Belt: Take the 10cm fabric strip, fold it in half (right sights facing) on the long edge and stitch it - leave a small gap for turning. Also close the short edges. Now turn it inside out through the gap, press it and close the gap with a handstitch.
Done!
Just some tiny pieces of fabric left depending on the width of your fabric.


