Sew your own face mask
Description
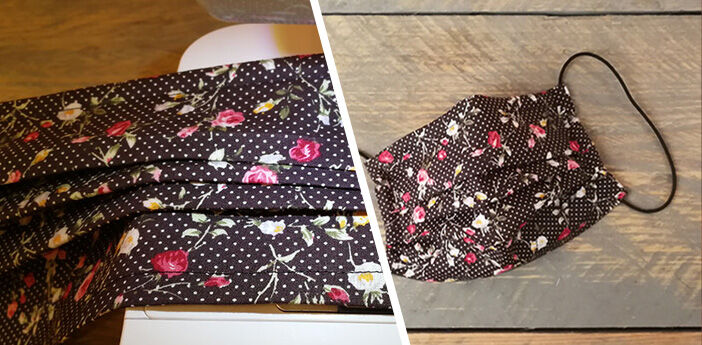
While a face mask won't protect you against viruses, you can reduce the risk of droplet infections for other people. This means you can help protect those around you and transmit fewer viruses and bacteria. Our instructions are really simple and ideal for beginners. Give it a go!
You'll Need:
Cut the face mask fabric
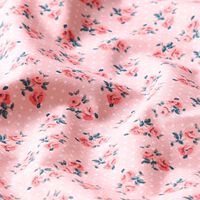
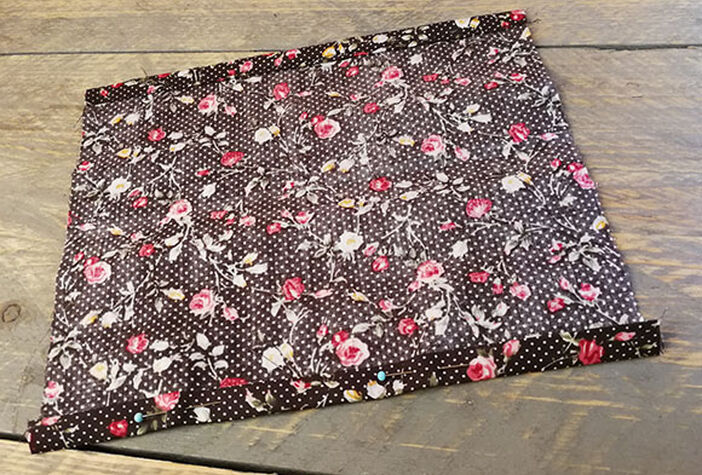
To make a face mask for an adult, you will need a piece of fabric 22x22cm in size. For children, the piece of fabric should be 17x17cm in size. You will get better protection with two layers of fabric. Cut the piece out 2x, and sew all the way round with the wrong sides together.
Sew top edge
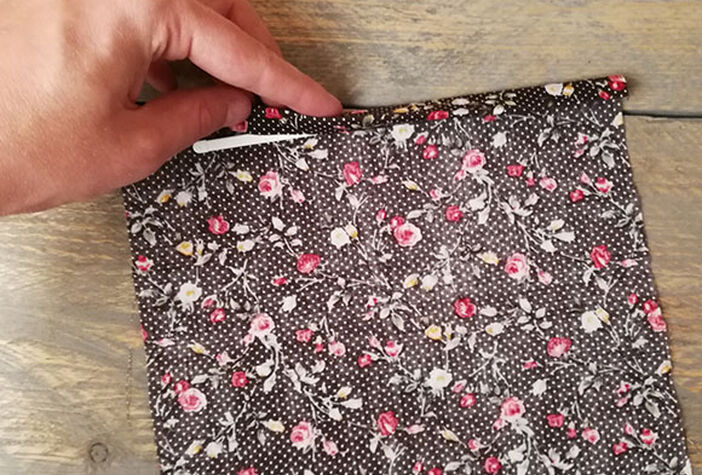
Fold the top edge 1 cm inwards twice and iron the fold. If you like, you can now position a nose wire between the layers. Secure the opening using an edge stitch seam.

Sew bottom edge
Do the same thing for the lower edge. However, no wire is inserted here.
Make wrinkles
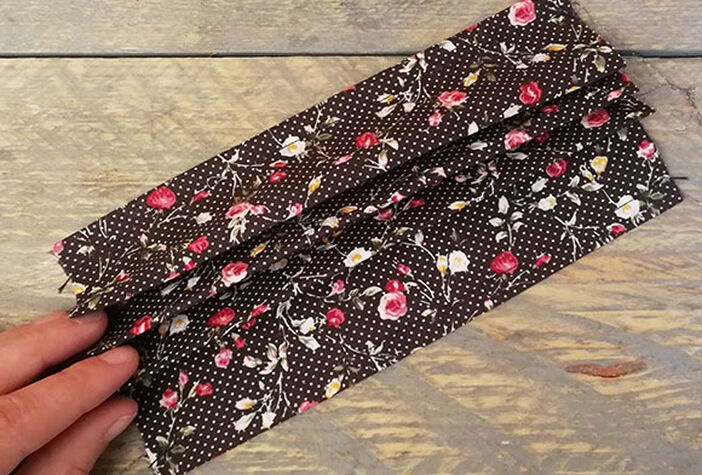
Make three folds in the fabric so you end up with a height of 6-7cm. Then you can iron it.
Sew folds
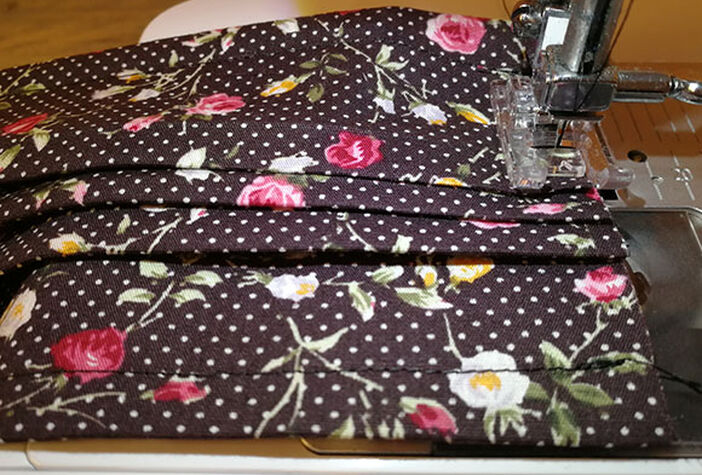
Sew over the pleats.
Sew sides
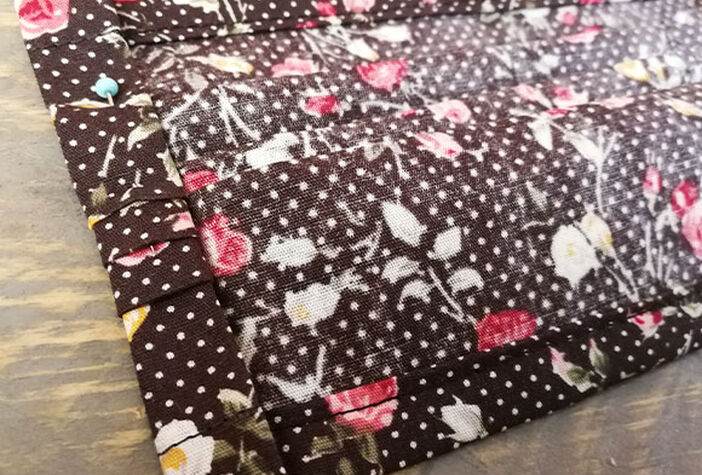
Fold both edges 1 cm inwards twice and iron the fold. Close the openings with an edge stitch seam to create a tunnel.
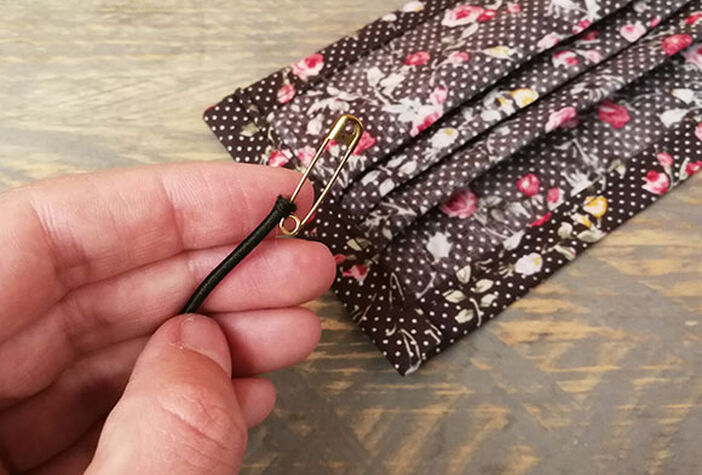
Thread through rubber bands
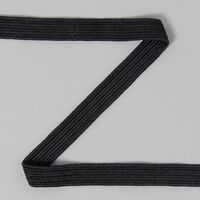
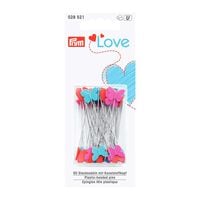
Cut two pieces of elastic measuring approx. 30 cm and thread these through the tunnel on each side using a safety pin.
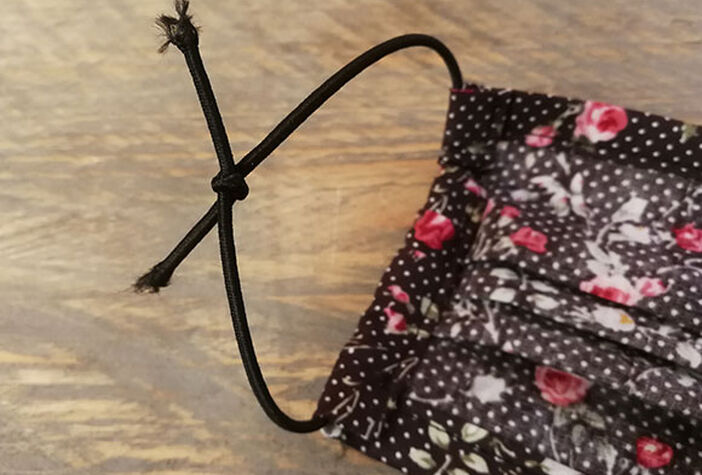
Knot the rubber band
Knot the ends of the elastic together.
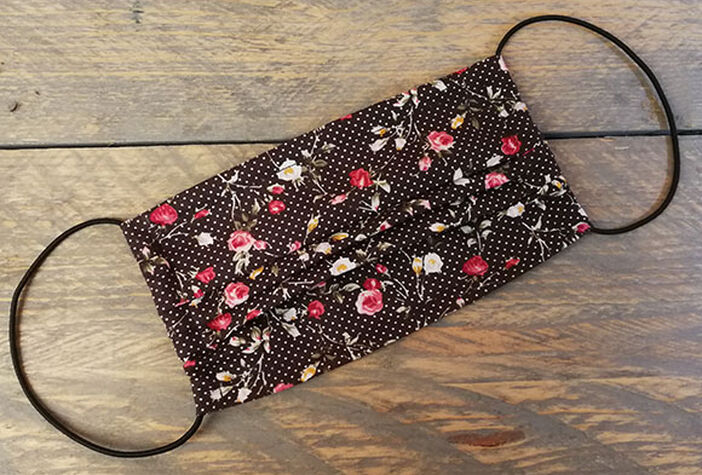
Almost finished!
Pull the knots into the tunnel so they are no longer visible.


