Tutorial Fabric Basket
Description
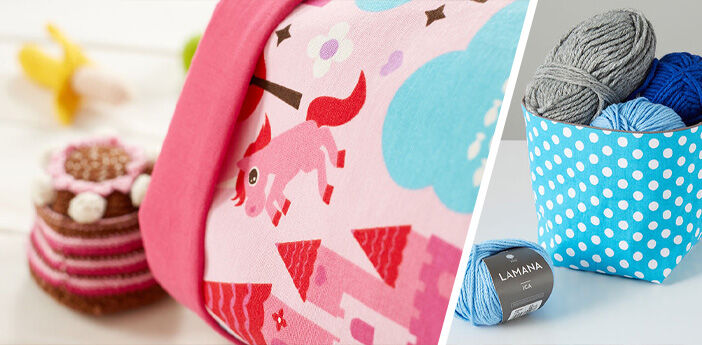
Are you looking for something that can not only help organising your bits and bobs but is also quick to sew and can be used time and again? A fabric basket is quickly made and an ideal project for sewing newbies. You can use it to store a wide range of different things and you can even wash it! In this new myfabrics.co.uk sewing tutorial, we will show you how to sew your own fabric basket.
You'll Need:
Preparing the Paper Pattern
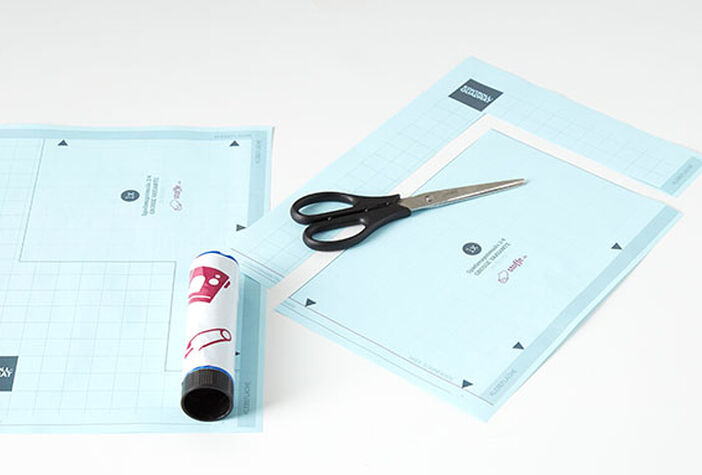
You can use the schematic to work out how your pattern should look like. Or you could go for the easy option and use one of our templates for either a large fabric basket (you could use as a toy bag) or a smaller basket (ideal for toiletries or as a flower pot cover). Just download and print out the template. The larger basket is 40 x 30 x 20cm. The smaller basket is 20 x 15 x 10cm. As the pattern pieces don’t fit on a single A4 page, you’ll have to stick the pages together using the markings and then cut out the pattern pieces.
Cutting
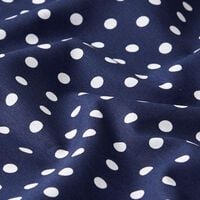
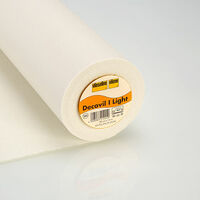
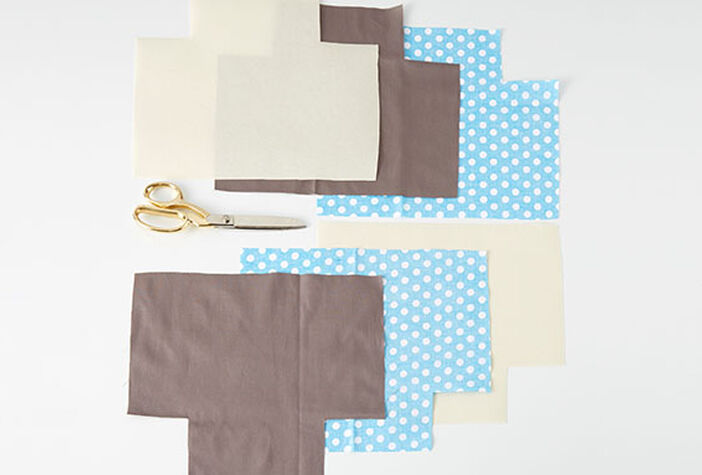
Use the printed pattern piece and cut out two pieces of your outer fabric, two pieces of your lining fabric and two pieces of the Decovil Light. In order to save work you can fold your fabrics (outer fabric and lining) at the foldline, and layer both on top each other so that you can cut four layers of fabric at the same time. You can also fold your Decovil to cut out two pieces at the same time.
Applying the Interfacing
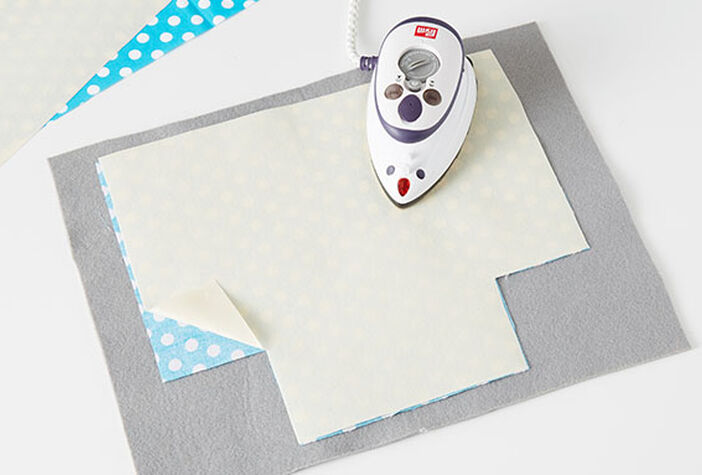
To reinforce your outer fabric, apply the Decovil to your fabric. You will need your iron to do so. Lay the interfacing onto the wrong side of your outer fabric with the adhesive facing down. Now, iron slowly over the fabric and press each area for around 5 seconds. Thus, you will attach the interfacing to your outer fabric. Now just let it cool and you can start stitching.
Sewing
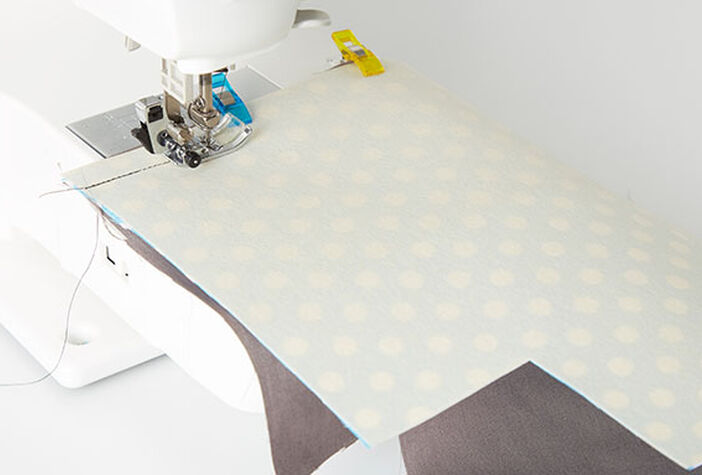
Lay one piece of your outer fabric on one piece of your lining fabric (right sides facing each other), and sew them together along the long top edge with a seam allowance of 1cm.
Tip: during this step you could attach piping or a trim for embelishment. At the end of this step, you should have two pieces of fabric left.
Press
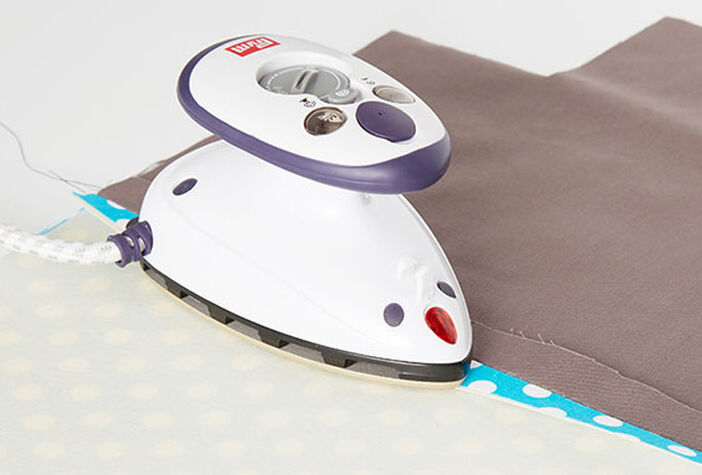
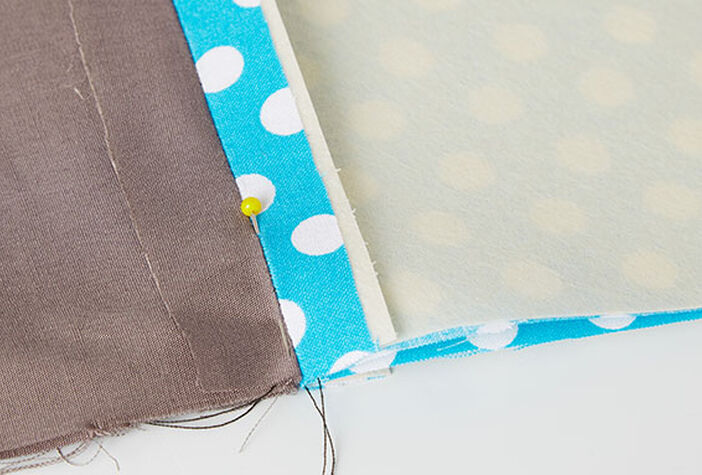
Press all seam allowances open.
Sewing
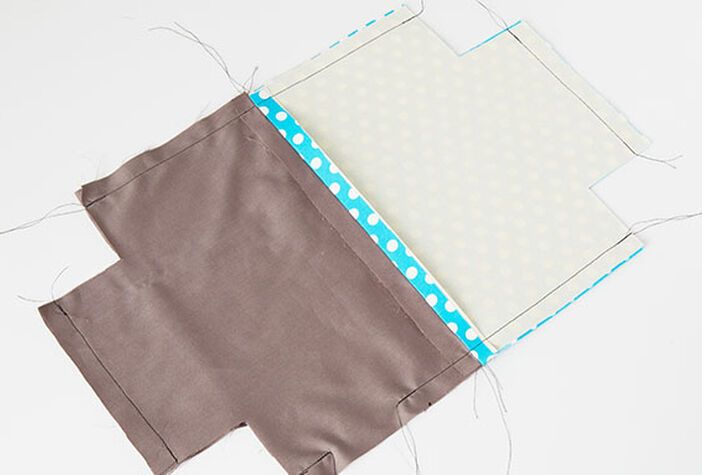
Lay the two pieces you have just made together (outer fabric to outer fabric) and sew them together on all outer sides (b and c) with a 1cm seam allowance. Make sure your two pieces line up precisely.
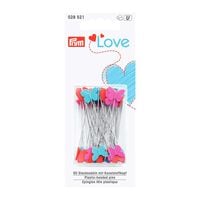
Tip: you can use pins to prevent your layers from shifting while you stitch.
Sewing
Leave a gap in the middle of one of the longer sides of your lining fabric so you can turn your project.
Sew the corners
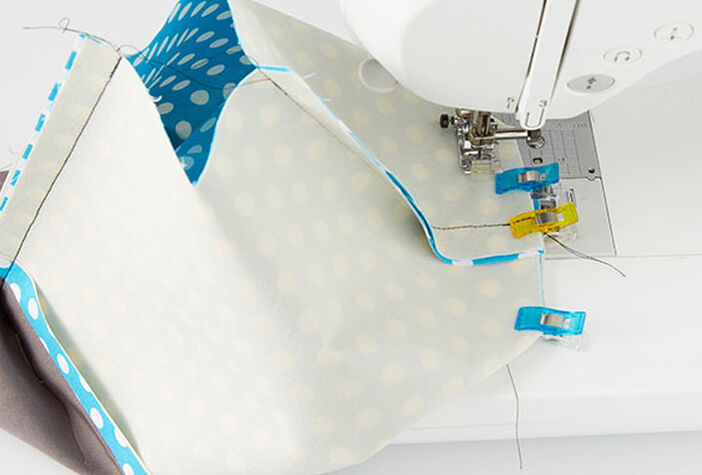
Now you are just missing your corners! Fold the outer fabric on the side a so that you have another side. Sew this side. Repeat on the other corner of the outer fabric.
Tip: Wonder clips are great for securing your fabric layers, as pins are too fine for the Decovil Light.
Sew the corners
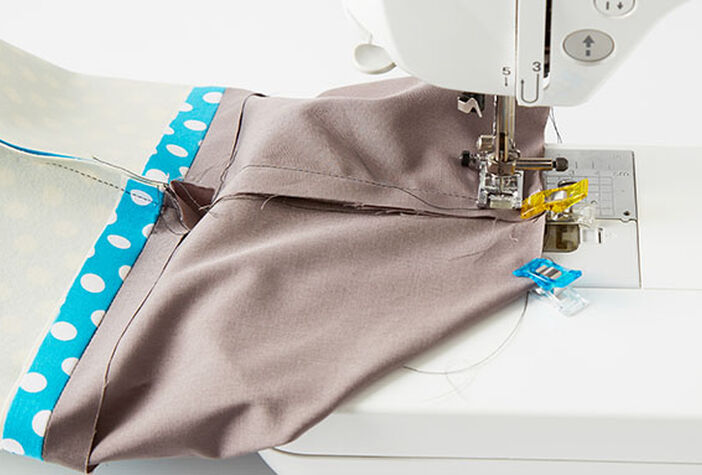
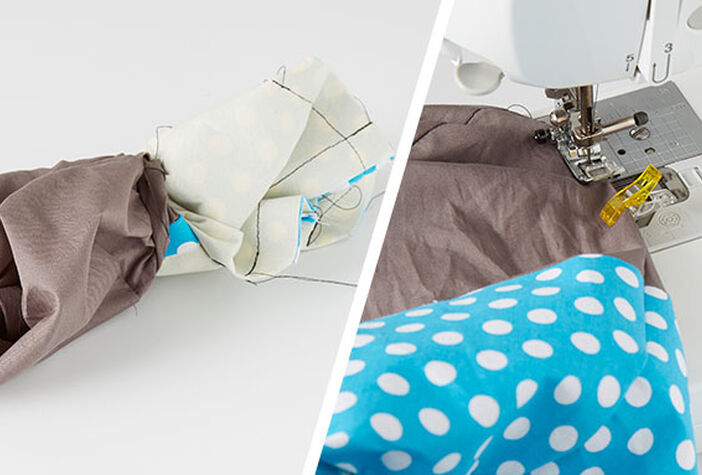
The lining fabric should also be sewn at the corners. The fabric basket is now taking shape and just needs turning.
Turning and Stitching the Gap
Reach inside the gap you left in the seam and turn the whole pouch out so that the right side of your fabric is now on the outside. Close the gap using a few hand stitches or your sewing machine.
Pressing (and Top Stitching)
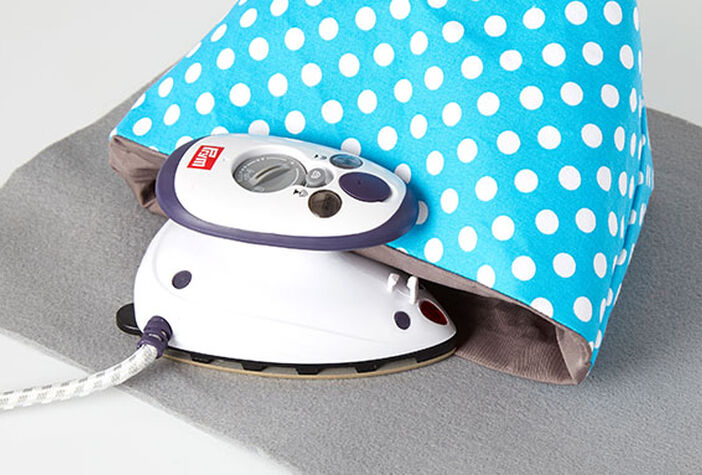
You can now press the fabric basket along all sides and top stitch if desired.
Tip: To personalise your look, you could use a decorative stitch or trim.
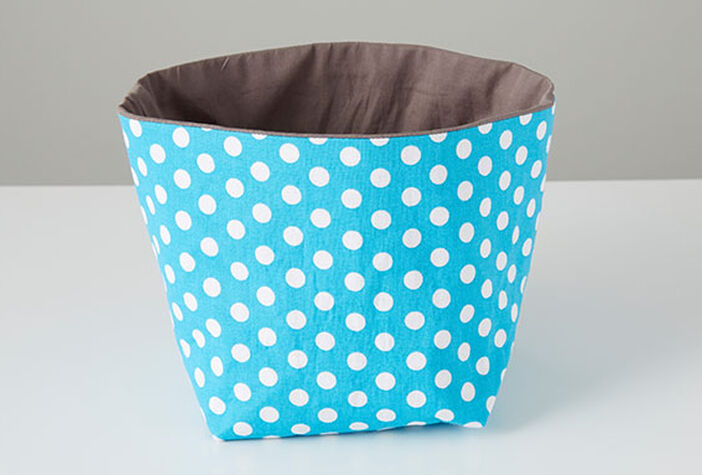
Your basket is now ready
You can now use your fabric basket to organise your room, desk or work space. This practical fabric basket is not just great for storage - it is also washable and easy to store if you don’t need it anymore. Get Sewing!


