Sewing instructions for bunting
Description
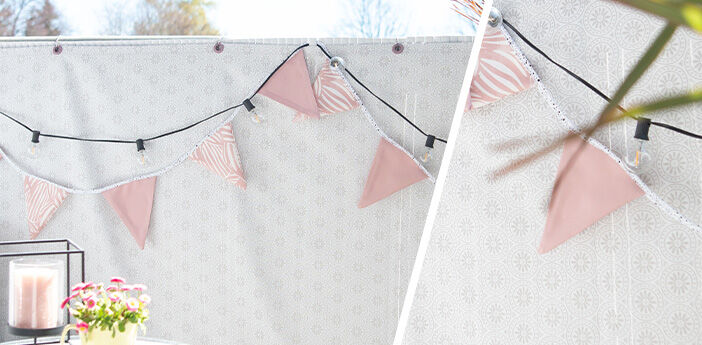
Bunting is a great eye-catcher in any space for any occasion. If you know how to make bunting, you can sew the perfect bunting for every occasion. For example, birthdays, weddings, the first day of school, a garden party...
You'll need:
Make your template
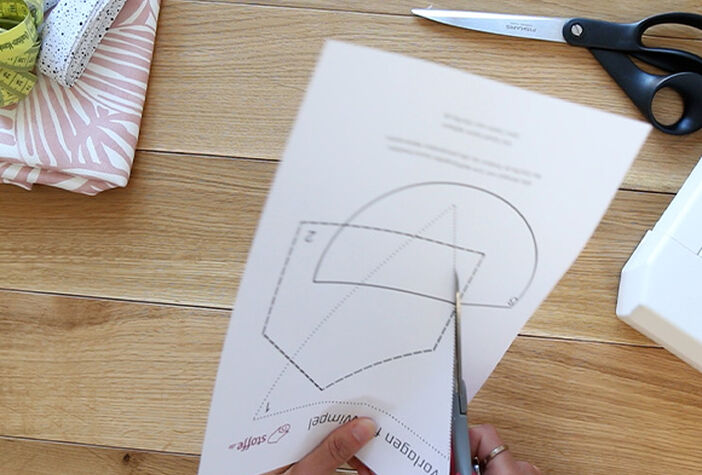
Depending on your fabric, you will need to make a cutting template first. You can find three templates here for classic flag shapes. The flags are usually triangular, however it's no problem if you want to have rounded bottom edges or make it serrated. Do what you like best!
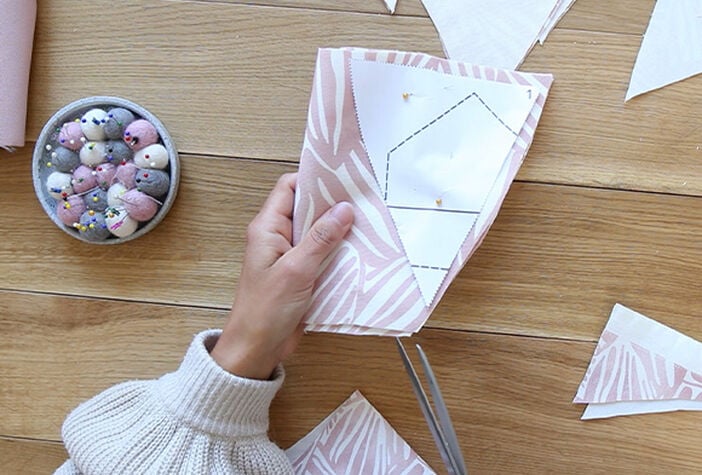
Cutting your fabric
Cut out your desired number of flags. Of course, you can decide how many you want to have. We recommend between six and ten flags per string, which should be approx. 2 m long.
For flags in the shape of a pattern on the material: Place your template on unrolled single-layer fabric. Follow the shape of the template with the rotary cutter or cut exactly along the edge using scissors. Repeat until you have double the number of pieces that you want to use for your bunting.
For simple bunting: If you have fabric without any clear pattern, you can of course lay multiple layers on your cutting template and cut out multiple flags at once. Try to be as exact as possible.
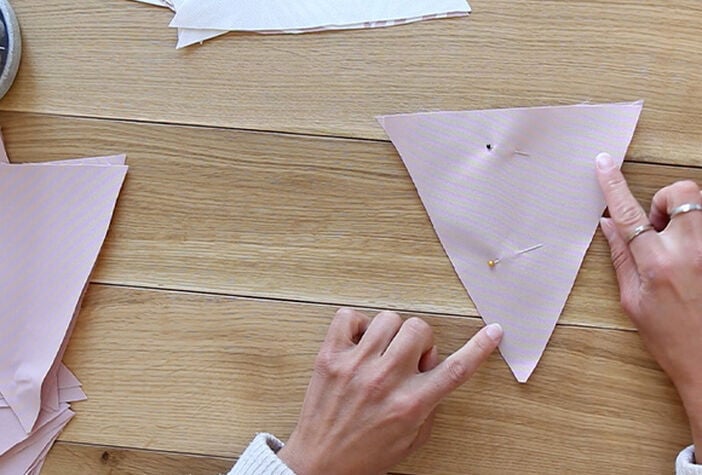
Sewing your flags
Lay two flags together with the right (nice) side facing inwards and stitch them together, except the upper edge. Use a seam allowance the same width as your sewing foot. That means that right edge of the fabric is finished off with your sewing foot.
Tip: Before sewing the flags pieces together, you can apply decoration such as letters, numbers or embroidery to them.
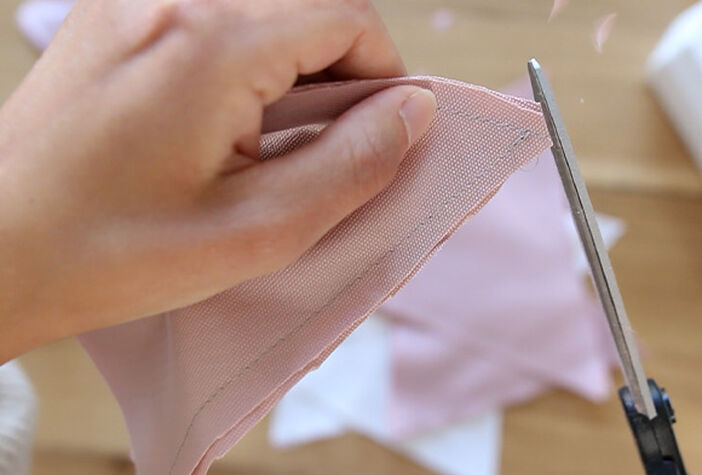
Trim the top
The seam allowance at the top of the triangle can then be trimmed or cut into with several small snips.
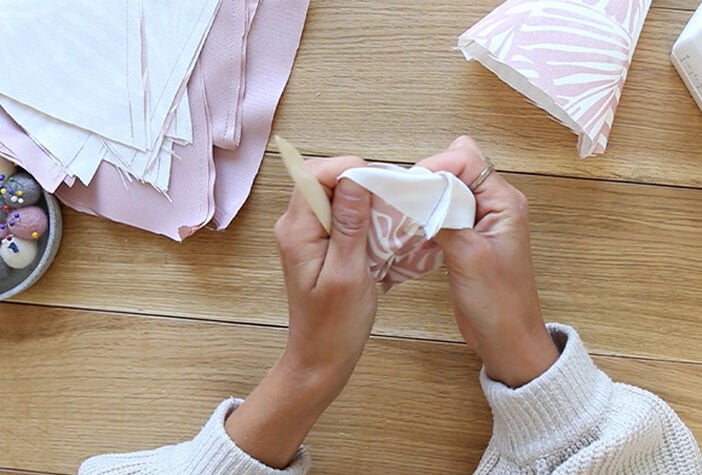
Turn the flags inside out
Now turn the flags inside out.
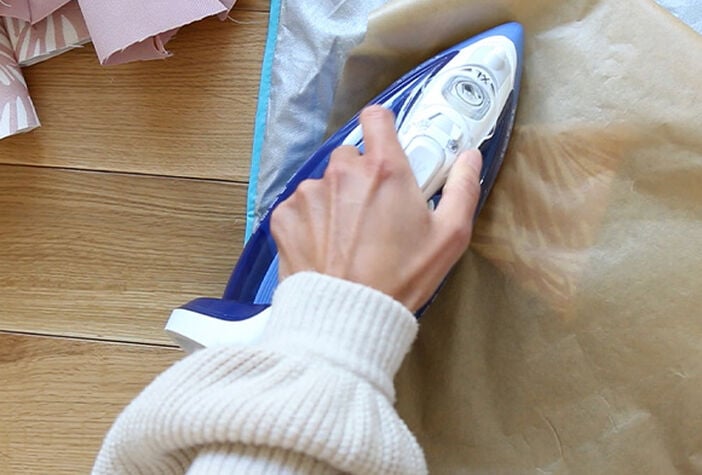
Iron
Iron your flags so that they are flat and uncreased.
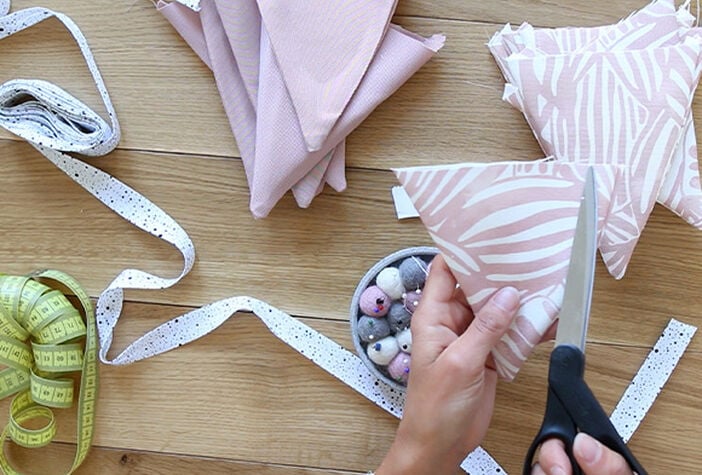
Cut the edge
If the upper edge is not already straight, you can cut it straight now. This makes it easier to attach the flags in the next step.
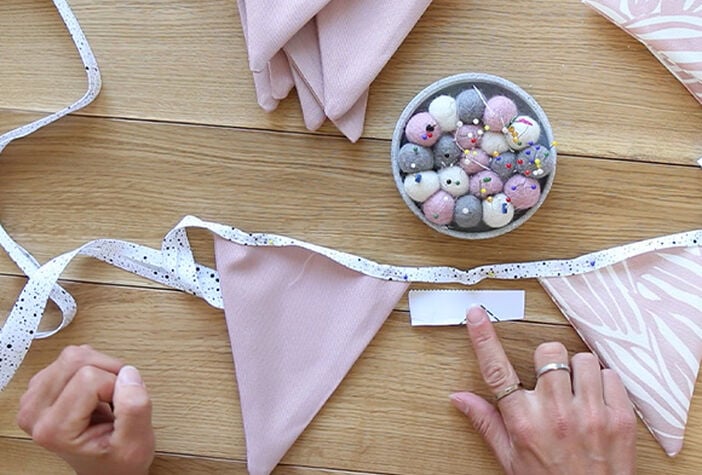
Organise your flags along the string
Lay out the flags in front of you in the order you want to have them on the bunting.
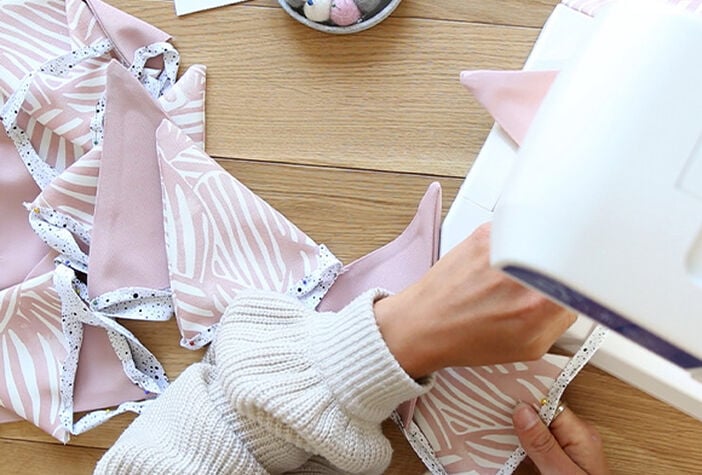
Attach the flags to the bias binding
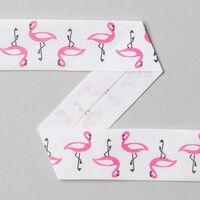
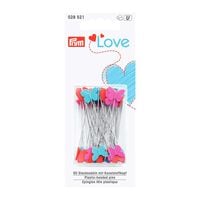
Attach the individual flags to the bias binding. To do this, fold the bias binding in half, stick it together and attach the flags in the order you want them and hold them in place with pins. Stitch along the bias binding with an edgestitch, catching all layers of material.
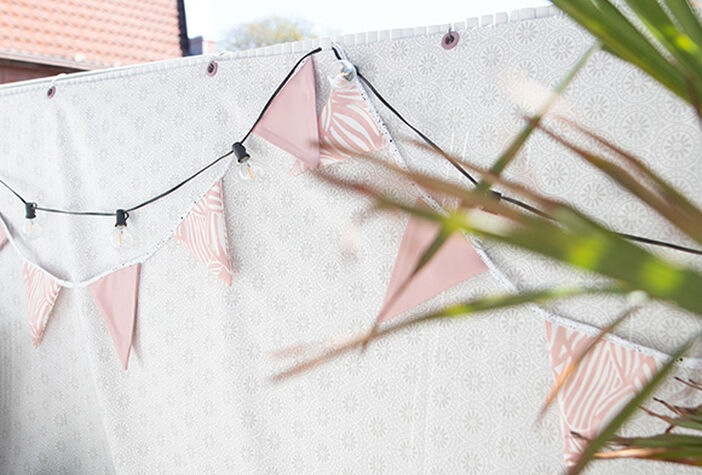
Finish your bunting
Now you just need to iron the flags and your bunting is complete!
Enjoy!

