Sewing tutorial travel pillow
Description
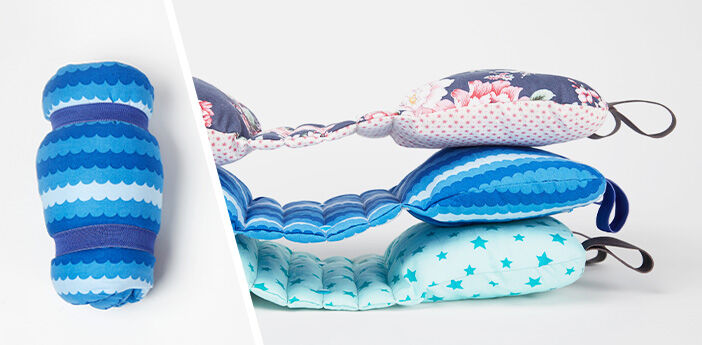
A little nap on a train or in the car can be pretty uncomfortable without a pillow. A pillow that you can rest your head and neck on provides support and makes sure you don’t keep waking up from your head flopping to one side. In this myfabrics.co.uk sewing tutorial, we’ll show you how to sew a travel pillow yourself in no time, using cotton fabrics.
You'll Need:
PREPARE THE SEWING PATTERN
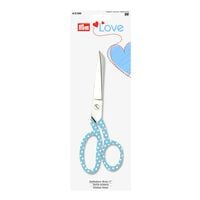
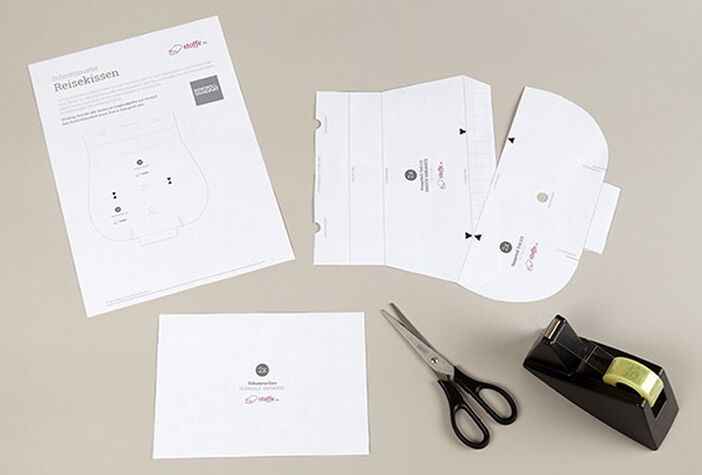
Print out the pages in actual size. Cut the pattern pieces out using your paper scissors. Tip: Reduce the printing size to 80% if sewing a pillow for a child. Place the pattern pieces together so that the markings touch, and stick them together.
CUT OUT THE PILLOW PIECES
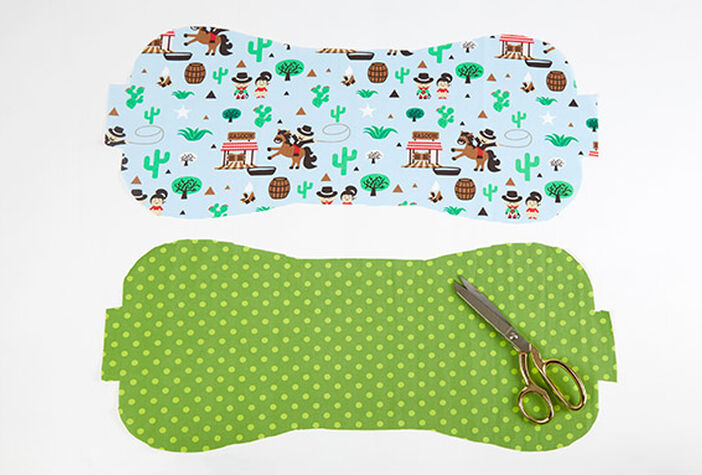
Place the pattern pieces onto the fabric and secure with pins. Our sewing pattern inclu- des seam allowances so you can simply cut along the lines. Cut two of the pattern piece out on the fold.
TRANSFER MARKINGS
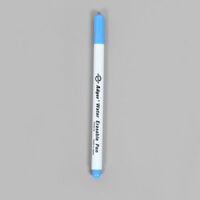
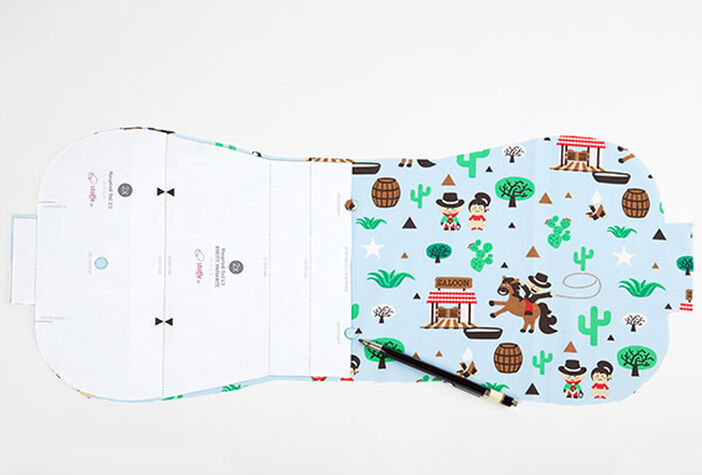
Transfer markings for the side snap opening on the top piece. It’s best to use a chalk pen for this, as it won’t be visible later. Transfer markings on the left and right and in the centre.
TRANSFER MARKINGS
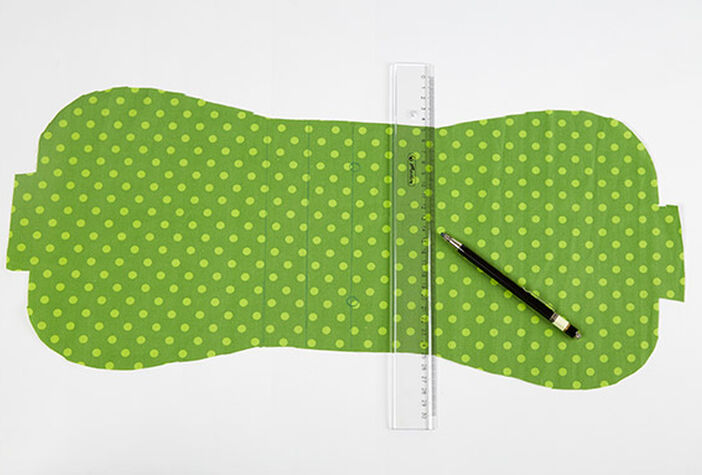
The middle part will be quilted later on for padding. Mark vertical lines in the middle of the other pattern pieces and two lines 3.5cm apart. Use a chalk pen and a ruler.
CUT THE DACRON WADDING
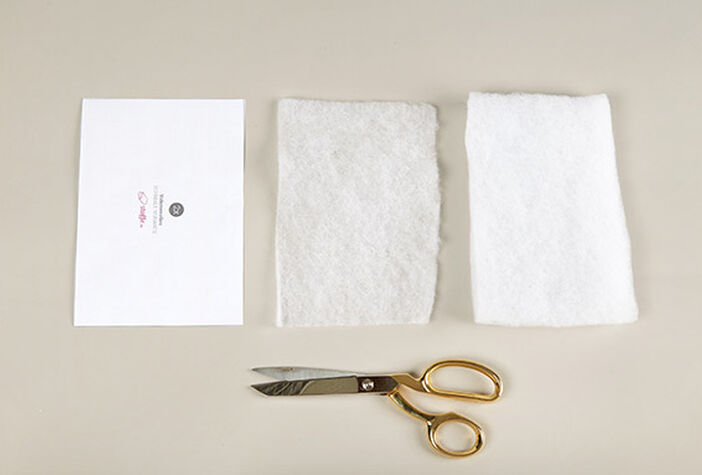
For the Dacron wadding piece, you’ll need one piece cut from the 100g wadding and one piece from the 200g wadding. If you’d prefer a thinner or thicker padded area, you can cut both pieces from the same Dacron padding.
ATTACH DACRON WADDING WITH SPRAY ADHESIVE
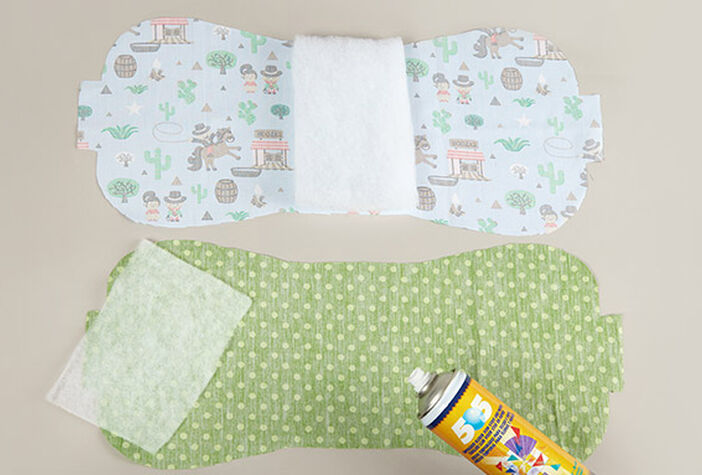
Spray the centre of the cotton fabric on the wrong side with spray adhesive. Place the wadding onto the pattern piece and press lightly. Let it dry!
ATTACH COLOUR SNAPS
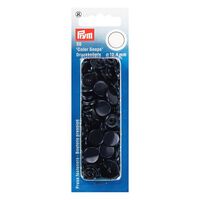
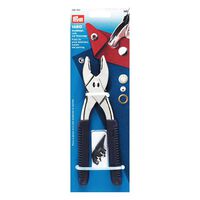
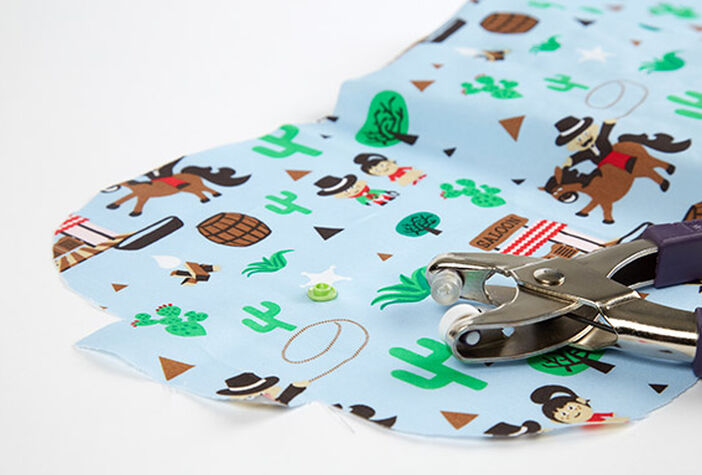
Attach two Colour Snaps to both sides of the pillow. You can see where they go on the pattern. Now attach the Colour Snaps: make sure you apply the male and female parts on opposite sides. To attach them, use the Vario pliers with the Colour Snaps attachment.
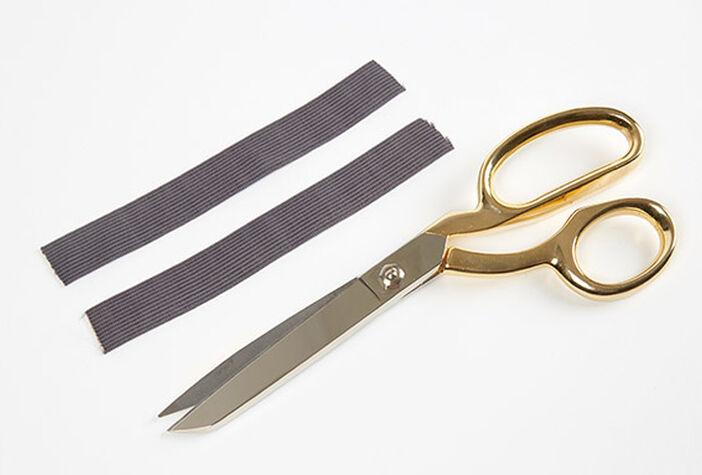
CUT ELASTIC
You’ll need two 18cm lengths of elastic.
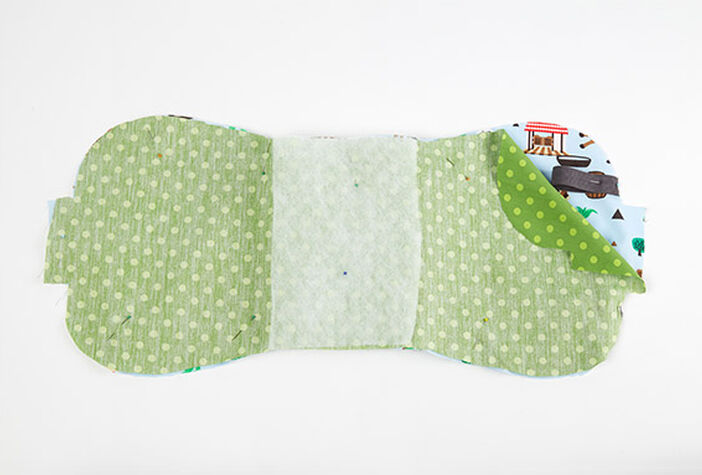
PREPARATION BEFORE SEWING
Place the two pillow pieces with right sides together and secure with pins. Attach the 18cm long pieces of elastic to one side, using the pattern markings to guide you.
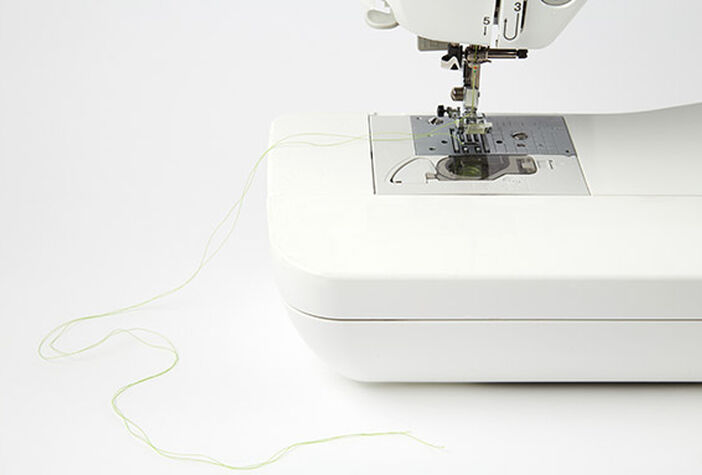
LEAVE THREAD TO CLOSE OPENING
Tip: If you pull around 25cm of thread through your sewing machine before stitching, you can use this to close the opening once you’ve turned your project.
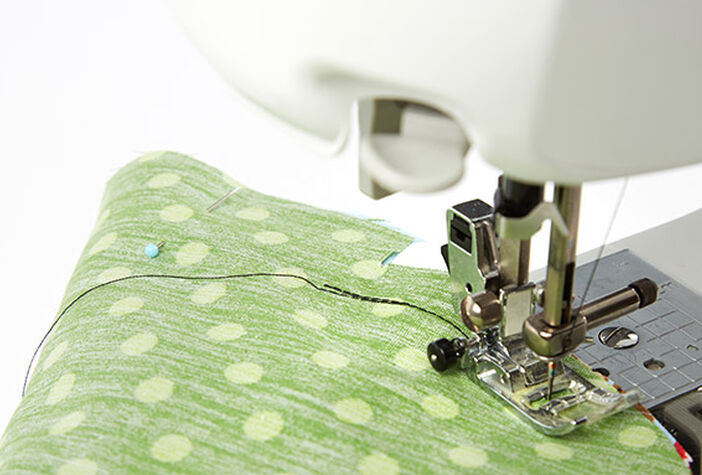
SEWING
Start sewing at the edge of the opening, around 1cm inside the seam allowance for the opening. Don’t forget to backstitch at the start and end of your seam.
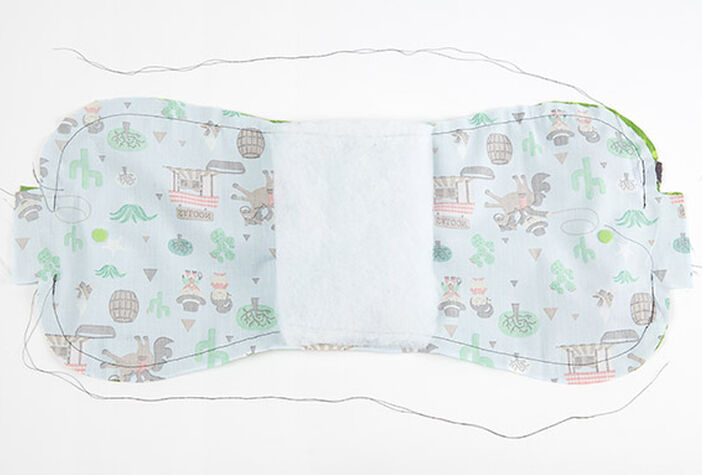
NEARLY DONE
Sew the pillow together using a 1.5cm seam allowance along the outer edge. Make sure you leave an opening on both of the longer edges to correspond with the markings.
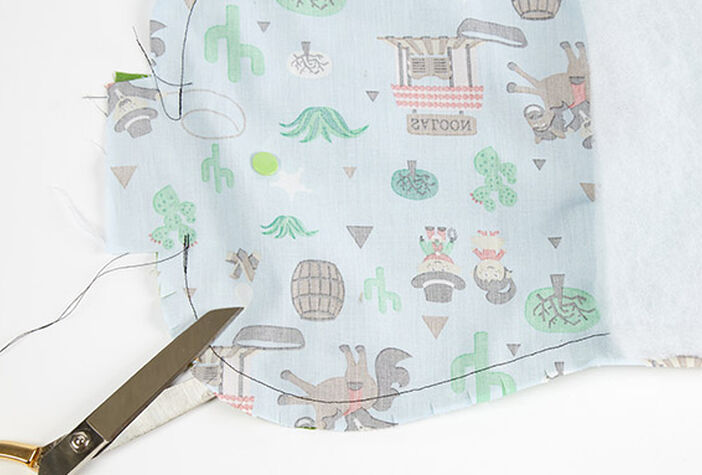
TRIM SEAM ALLOWANCES
To make sure that your curved edges sit straight, cut small notches into the seam allowances.
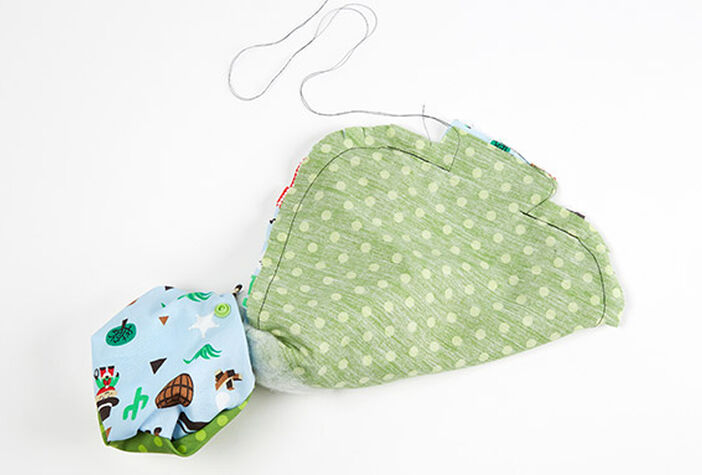
TURN
Turn the pillow through one of the small openings.
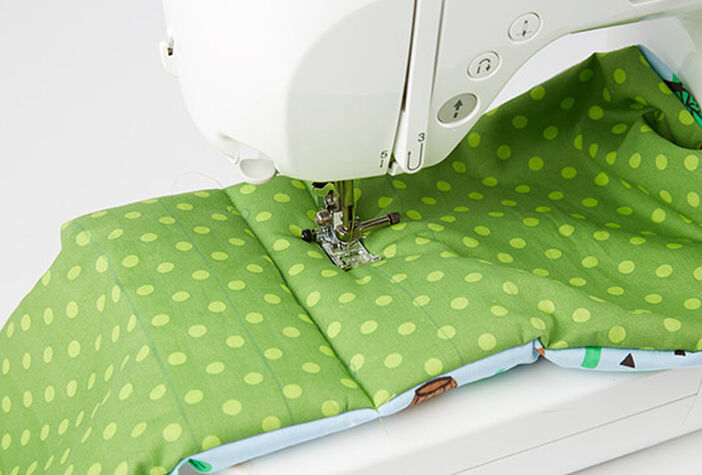
QUILT CENTRE PIECE
You should have already trans- ferred the stitching lines from the sewing pattern. Now stitch the centre piece using vertical lines of stitching.
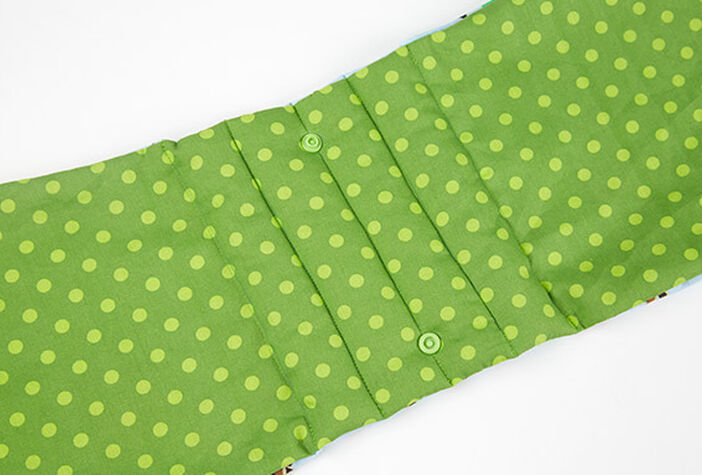
ATTACH COLOUR SNAPS
Attach two Colour Snaps at the top and bottom of the centre piece. You can see where they go on the pattern. Attach the male part to the top, and the female part to the bottom. To attach them, use the Vario pliers with the Colour Snaps attachment.
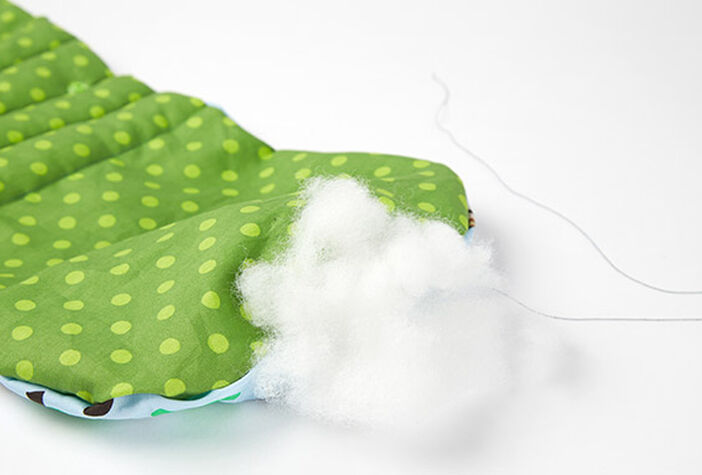
STUFF PILLOW
Now stuff the two side pillows with stuffing until they reach a good volume for you.
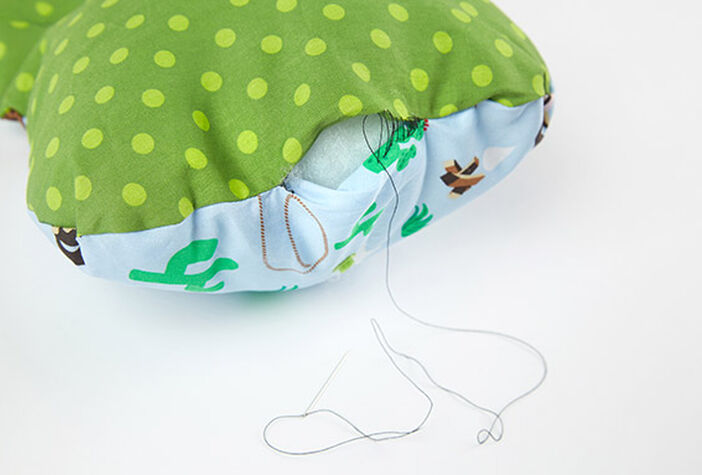
CLOSE THE OPENING
Close the openings using a blind stitch or ladder stitch.
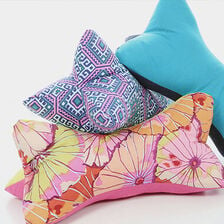
Your travel pillow is ready!
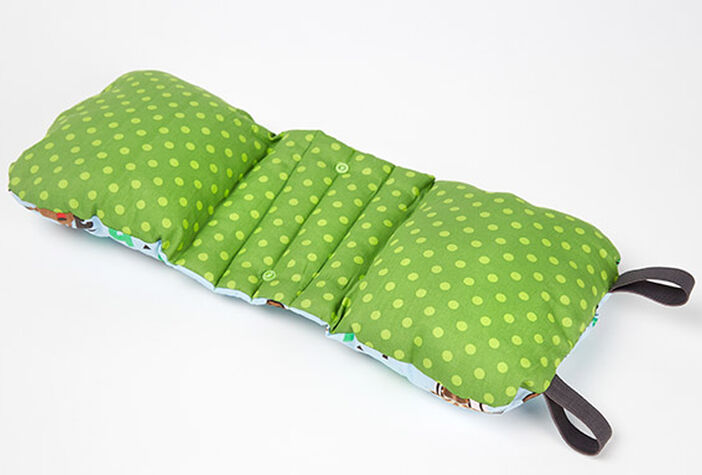
Multifunctional use
Variation 1: Passengers in the car
The middle section of the cushion wraps around the seat belt. Press the snaps in the cushion together to secure. Now the pillow can comfortably rest between your shoulder and the window of the car
Variation 2: Neck Pillow
Press the centre snaps together and wrap the folded centre panel around your neck - this leaves a cushion on either side for comfortable snoozing. This version doesn't even need the snaps to be pressed together if you're in dire need of a nap!
Variation 3: Additional Neck Support
Snap the buttons in the pillow section together and place an empty plastic bottle in the 'tube' that forms to add additional support.

